

Vegetable Garden Soil Health 101: How to Build and Maintain Healthy Soil
By Colin McCrate
Healthy soil grows healthy plants—it’s that simple. This is the backbone of organic agriculture: tend to the soil and the plants will take care of themselves. In fact, if you want to sound like an authentic, overzealous garden nerd, you can start saying things like “I don’t grow plants, I grow soil.” It’s typically best to reserve comments like this for precarious social situations, such as an awkward silence on a first date.
If you want abundant harvests and nutrient-rich vegetables, start by improving your soil. Soil health determines the quality, productivity, and long-term success of your garden.
Whether you’re building a new raised bed or maintaining a long-loved garden plot, the principles are the same: test, amend, and feed it consistently. Here’s how to create and sustain soil that gives back year after year.
Why Soil Health Matters
Your soil is more than dirt—it’s a living system. It contains minerals, organic matter, microbes, and fungi that interact to support plant growth. When soil is in balance, plants are stronger, pests are fewer, and yields are higher.
Unfortunately, most residential soils—especially urban or compacted ones—lack key nutrients and structure. That’s why improving garden soil isn’t a one-time task. It’s an ongoing process, your soil should get healthier over time (rather than more depleted).
Step 1: Test Your Soil and pH
Before planting, it’s a good idea to understand what you’re working with.
If your garden site is in an older urban area, test for lead or other contaminants before building edible garden beds. (You can find soil testing resources at the end of this article.)
Once you know your soil is safe to use, (or if you’ve decided to import all of your soil, use containers, etc) you’ll want to measure its pH (how acidic or alkaline it is). pH controls how easily plants can absorb nutrients. The pH matters because, even if you add compost and fertilizer, your plants may not be able to absorb their nutrients if the pH is out of whack.
Ideal Vegetable Garden pH
6.2–6.9 is the perfect range for most annual vegetables.
Below 6.2 = acidic soil. Add calcitic lime or dolomitic lime to raise pH.
Above 6.9 = alkaline soil. Add elemental sulfur to gently lower pH.
Tip: Test your soil pH once a year, ideally several months before planting. This gives amendments time to work on adjusting the acidity before you plant. You don’t need anything fancy, an at-home pH test kit or digital meter is perfectly adequate and will give you precise enough information to act on.
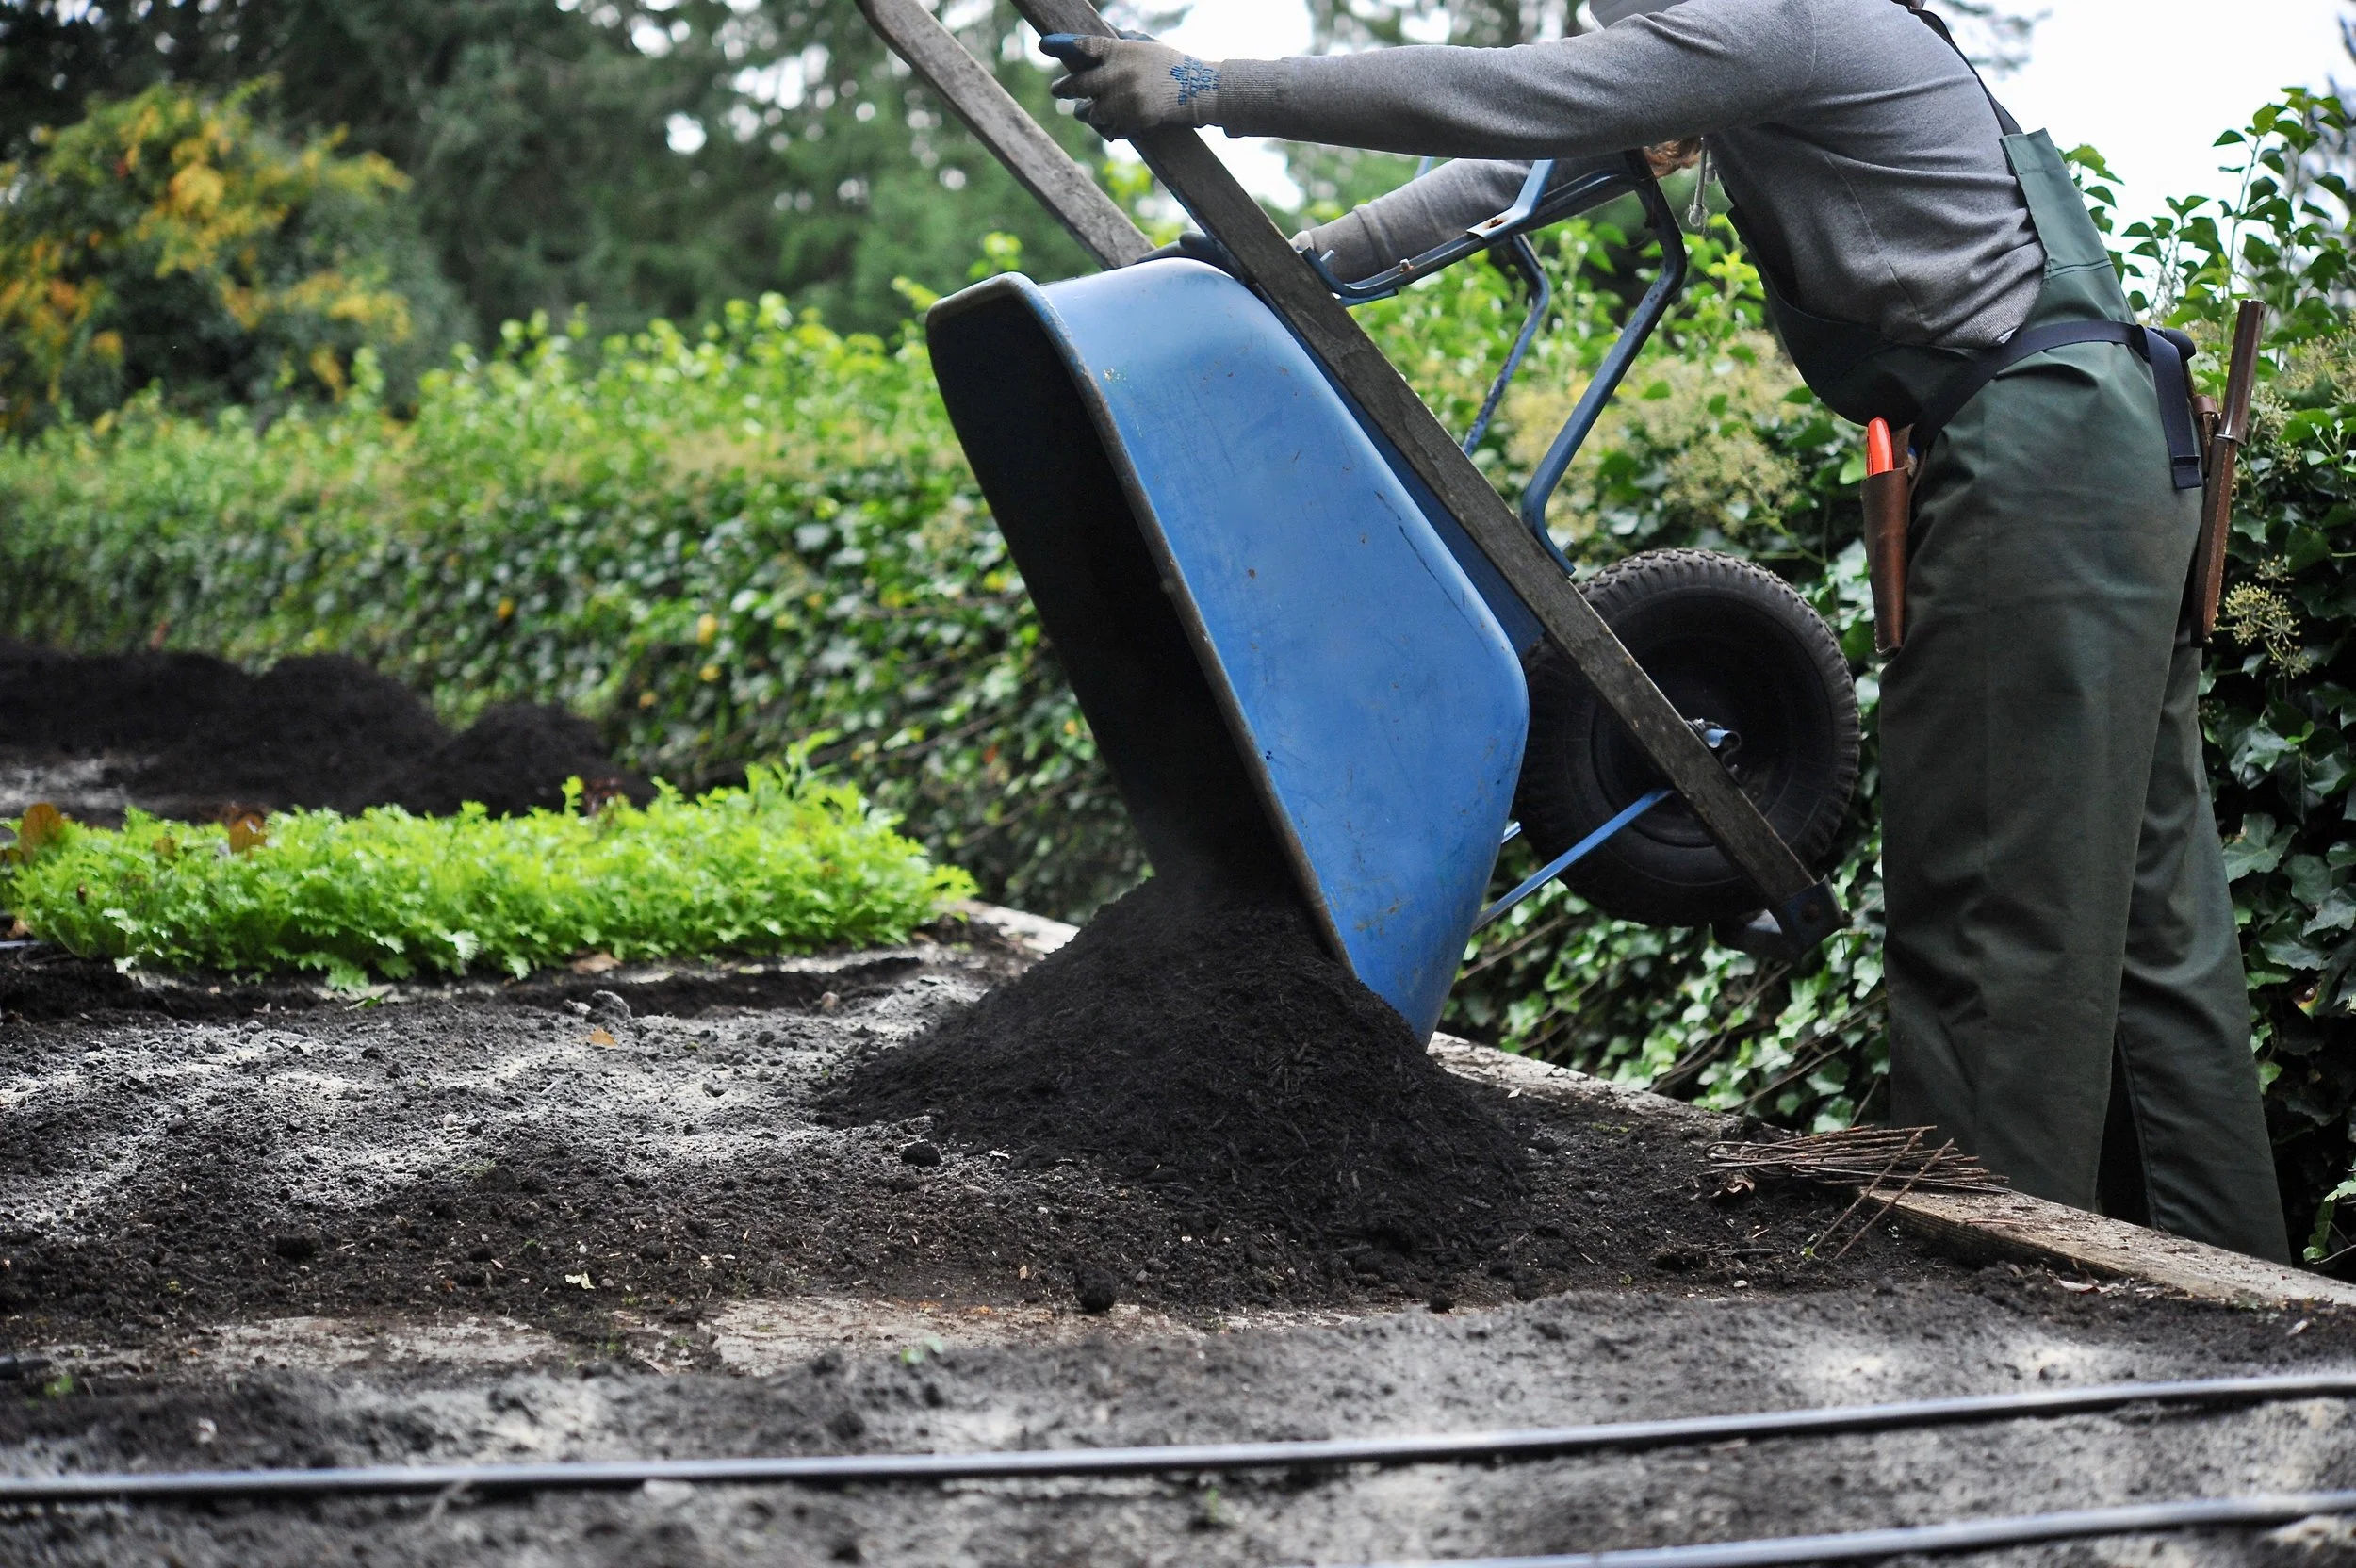
Step 2: Build Organic Matter with Compost
If soil health had a secret ingredient, it would be compost. When you add compost, it breaks down into humus—the rich, dark, crumbly material that gives soil its structure and resilience.
Humus improves tilth, meaning the soil holds together in soft clumps that are easy to work with. It acts like a sponge, balancing moisture by holding water in sandy soil and improving drainage in heavy clay.
As humus decomposes, it also feeds your crops naturally, releasing nutrients slowly throughout the growing season.
What to Do
Apply 2–3 inches of finished compost to your beds every year.
In spring and fall, loosen (don’t turn) your soil with a garden fork to preserve soil structure and beneficial microbes.
Compost not only boosts yields—it’s one of the best ways to build long-term soil health.
Step 3: Feed Your Soil (and Plants) with Organic Fertilizers
Vegetable plants are heavy feeders. This means that they absorb lots of nutrients from the soil. Even with good pH and compost, most vegetable plants do better with some supplemental fertilizer. Organic fertilizers keep soil microbes active and nutrients cycling all season long.
It’s important not to overapply fertilizers, since this can create a buildup of salts in the soil and actually harm your crops. However, it’s been our experience that most beginning gardeners dramatically underfertilize! Always follow the directions on the package since application rates depend on the mix you buy. But just know that on your first go, you may be surprised at how much you actually need to use.
Here’s how we recommend applying fertilizers:
Before Planting
Mix granular organic fertilizer* into the top 4 inches of soil.
For direct-seeded or densely planted crops, broadcast it evenly across the bed.
For larger crops like tomatoes or winter squash, add fertilizer directly into each planting hole.
* Our second book, Grow More Food (Storey 2022) includes the recipe for our time tested homemade granular organic fertilizer blend!
After Planting
Side-dress heavy feeders (like tomatoes, corn, and brassicas) every 2–4 weeks with granular or liquid fertilizer.
For liquids, dilute as recommended on the label, apply at the base of plants, and rinse your watering can after each use.
Fertilizer Tips
Seedlings & transplants: Use low-dose liquid fertilizer 2–3 times per week after emergence. We tend to use fish, kelp or seaweed-based liquid fertilizers.
Transplanting: Use a high-phosphorus blend (2-4-2) to encourage root development.
Fruiting plants: Apply a 0-5-5 foliar spray for better fruit quality.
Leafy crops: Side-dress with a high-nitrogen mix (5-1-1) or straight blood meal (12-0-0) for lush green growth.
The Takeaway: Feed the Soil, Not Just the Plants
Healthy soil is alive—and like any living system, it needs care, balance, and food.
By adding compost, maintaining pH, and feeding with organic fertilizers, you’ll build soil that’s productive, resilient, and teeming with beneficial life.
The payoff? Healthier plants, higher yields, and a garden that gets better every year.