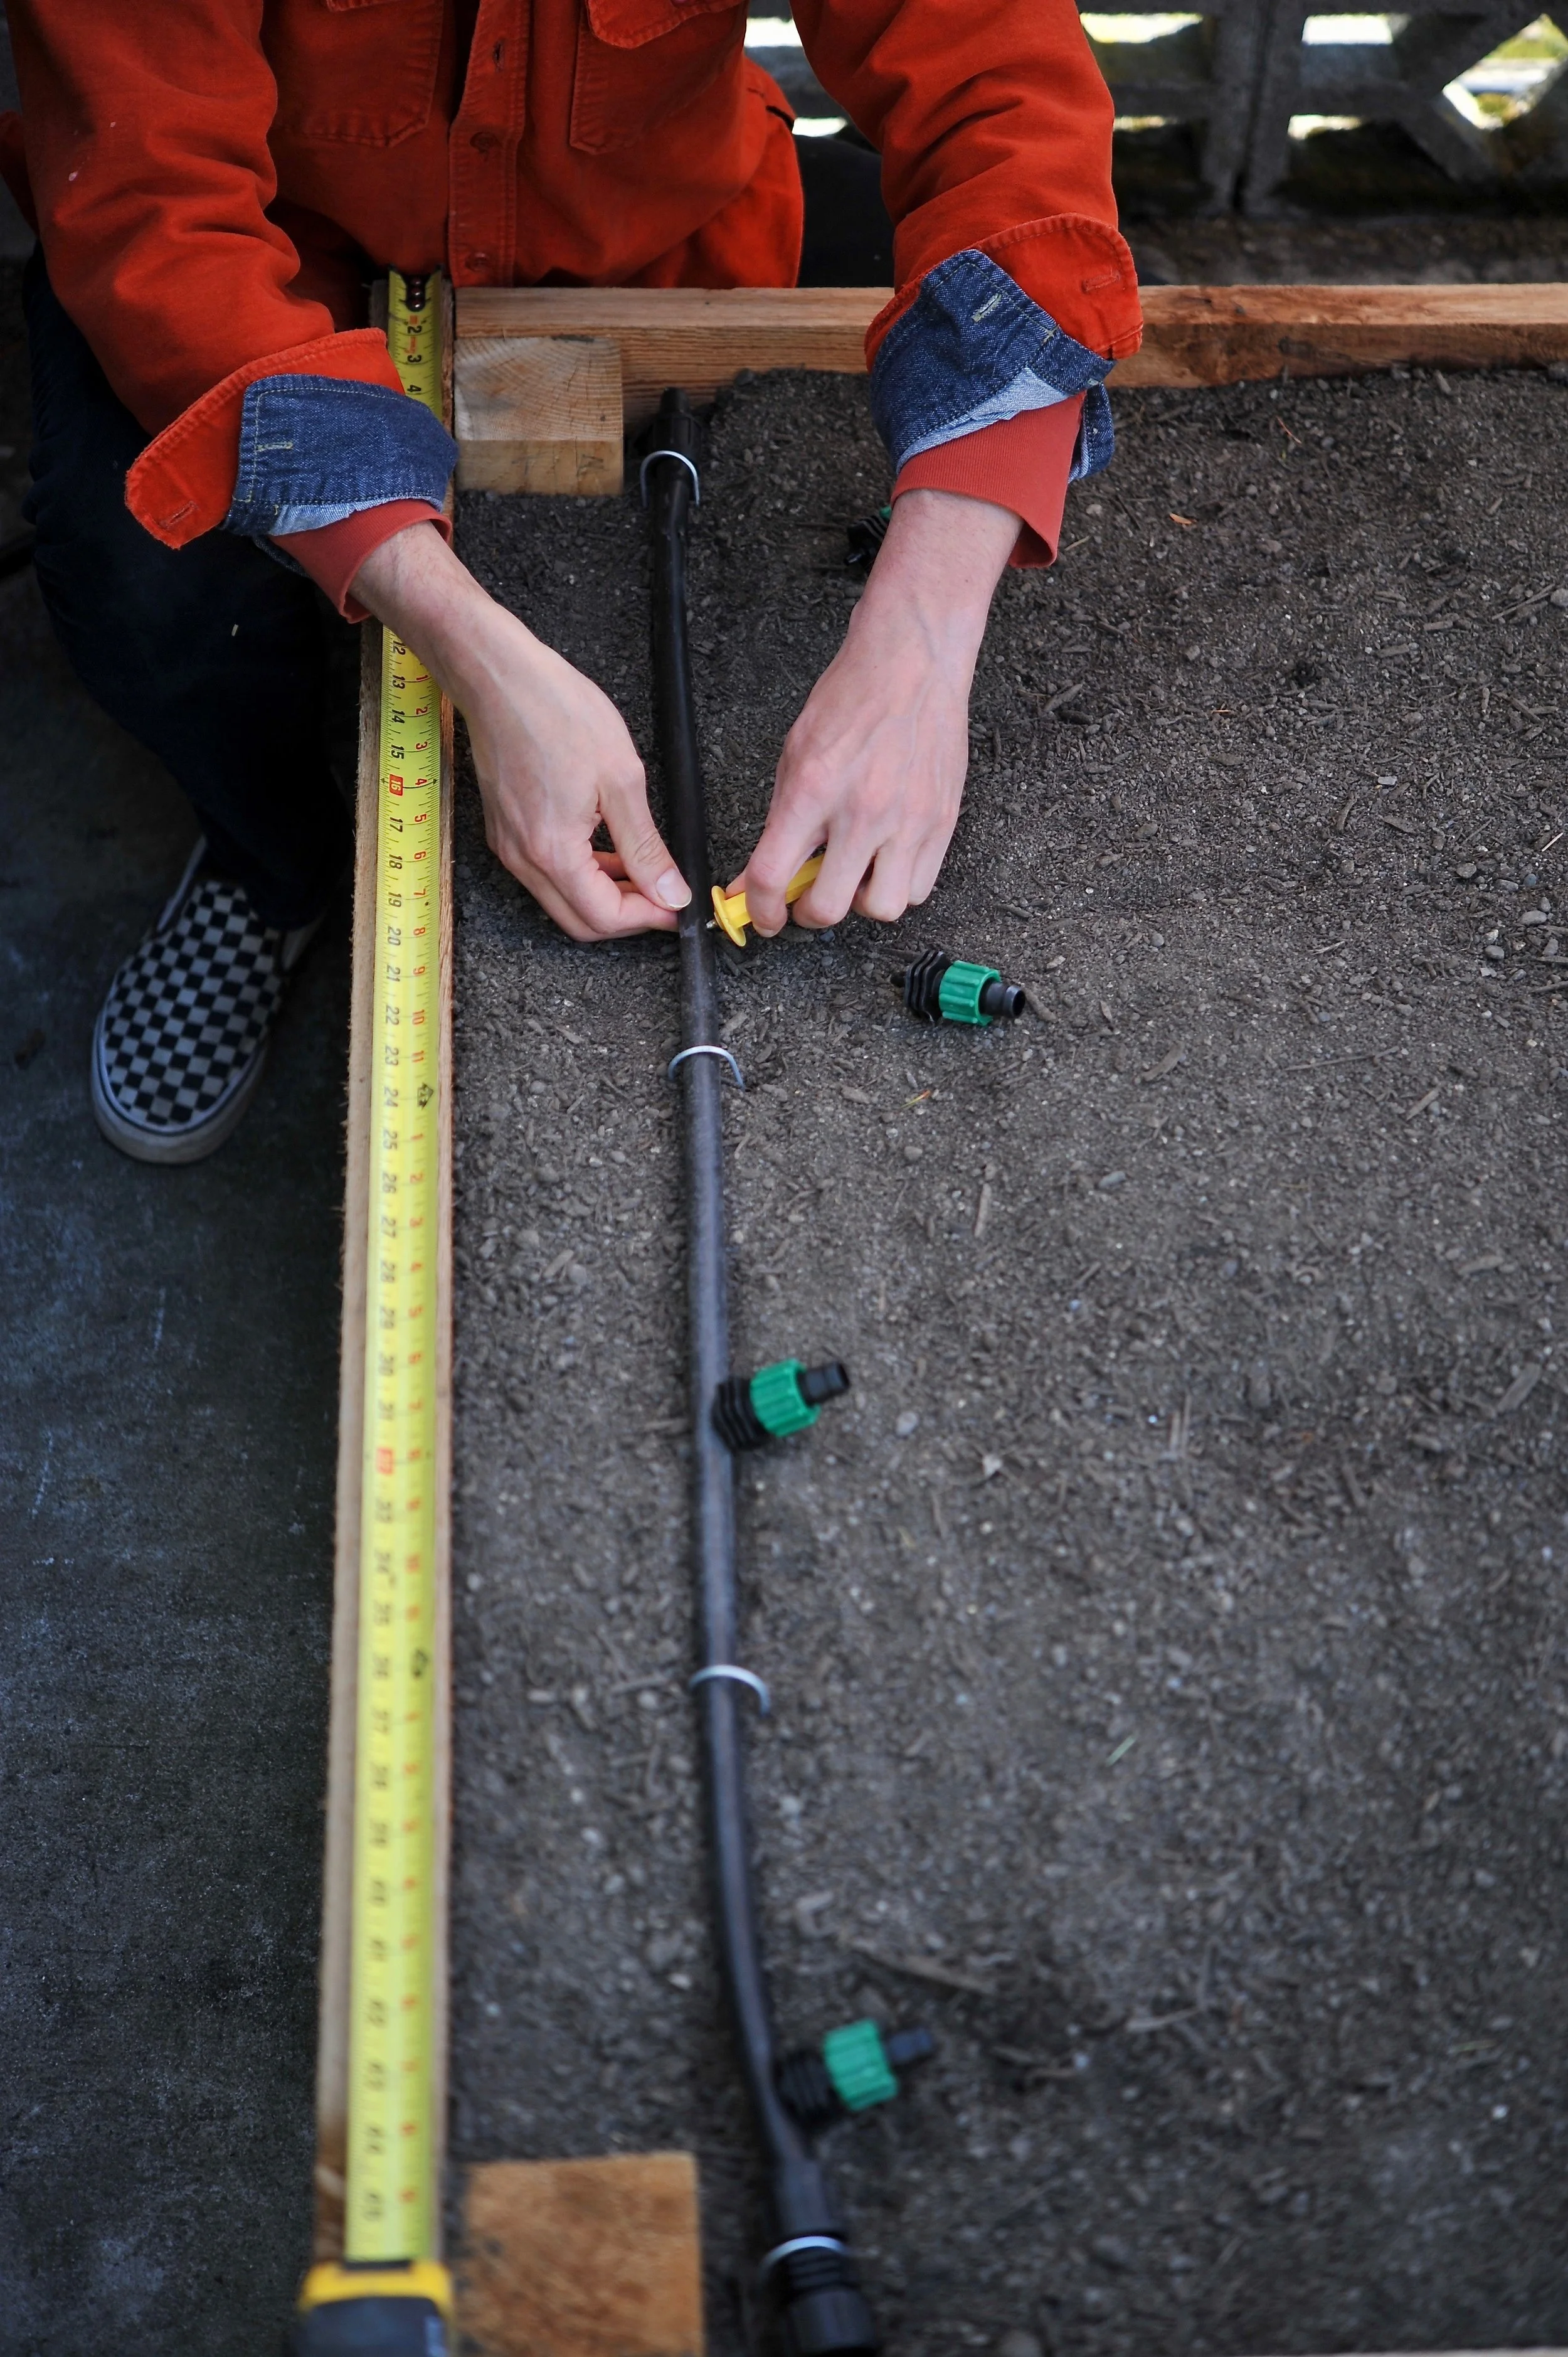
A raised bed physically separates the planting area from the walking area, so you’re not compacting your soil every time you stroll through your garden, and you’re not fertilizing your path every time you add compost. Raised beds also drain well and warm up quickly when the sun hits them, and a designated raised bed allows you to plant your crops close together, so you end up using your available space productively and efficiently.
Why Choose Wood-Framed Beds?
Building a wood-framed garden is a little more work than building other types, but many of our customers felt that it was worth the time and expense, so we built hundreds of them during the 18 years we designed and built edible landscapes. Framed beds are versatile, durable, and make gardening easier on your body. They also:
They Add Depth and Flexibility
Wood-framed beds let you add a deep layer of new soil, which is ideal for rocky or compacted yards. You can install them directly on top of grass, pavement, or even contaminated soils (with proper lining).
They Protect Against Roots and Pests
Line your beds with hardware cloth and landscape fabric to keep moles, voles, and tree roots out of your growing space.
They Create Structure and Accessibility
Framed beds clearly define planting zones and paths, preventing soil compaction and improving accessibility. Build them higher to reduce back strain.
They Work Just About Anywhere
With enough sunlight, you can place raised beds on rooftops, patios, or steep slopes. Frames also make it easy to attach trellises, shade cloths, or fencing.
Trade-Offs:
Wood-framed beds cost more upfront and are easiest to construct in rectangular shapes — not ideal for every space — but they offer long-term durability and flexibility.|
BUILDING THE BEDS
Start by choosing your wood. When it comes to wood, you want something that won’t rot too quickly but won’t leach anything nasty into your vegetable soil. To begin with, let’s rule out treated lumber. Treated lumber is designed to resist rotting when exposed to moist soil. The treatments used today are not as toxic as they used to be, but treated wood still has the potential to leach chemicals into your garden bed. Its use is prohibited for farms producing certified organic crops, and it is best left out of the home food garden as well.
NOTE: that if you already have beds bordered with treated lumber, they may be safe to use for food. Most leaching from treated wood happens in the first few years after installation, so most contaminants may have already left the wood and leached out of the nearby soil. Unfortunately, there is no clear research indicating how long the contamination may persist, and toxin retention can vary depending on soil type. Treated lumber manufactured before 2004 contains arsenic, which is toxic to humans. We recommend testing for arsenic if you’re considering reusing an old bed made of treated wood to be sure the soil is clean.
The most commonly available untreated options are pine, fir, cedar, redwood, juniper, and composite lumber.
Pine/fir: The main advantage of pine is that it’s inexpensive; the main disadvantage is that it rots relatively quickly. Pine or fir beds may start to show signs of rot after three to five years. This may not be a problem if you are looking to save money, or you think you may want to move or redesign your garden in the future.
Cedar/redwood/juniper/black locust: These woods can be quite expensive, but they are naturally rot resistant and beautiful. They should last at least twice as long as pine or fir when used outside.
Composite lumber: Composite lumber is made from a mixture of recycled plastic and wood fibers. This option is also expensive, but it has great lon- gevity and doesn’t require additional treatment. It also makes use of recycled material. Unfortunately, it’s a little harder to work with than real wood: Normal wood screws won’t hold composite lumber together, so you will need special screws or bolts.
NOTE: You can extend the life of a natural wood bed by coating it with a nontoxic wood treatment.
The Wood—Dimensions
We like to use 2 × 6 lumber for the sides of garden frames. Stacking two or three 2 × 6 boards will give you a frame 11 or 161⁄2 in. high (2 × 6 boards are actually 51⁄2 in. wide instead of a full 6 in.). We’ve built them much taller than that and it isn’t a lot of extra work, so don’t be afraid to make tall beds. For corner posts, we recommend 4 × 4 post lumber, and we use 2 × 4 for braces. Lumber commonly comes in 8 ft., 10 ft., and 12 ft. lengths.
For most home gardeners, the classic 4x8-foot bed is the sweet spot — efficient to build, easy to manage, and uses lumber with no waste. So, let’s say you’ve decided on a 4 ft. × 8 ft. × 11 in. bed. Here’s what you’ll need:
Six 2 × 6 boards, 8 ft. long
One 4 × 4 post, 8 ft. long
One 2 × 4 board, 8 ft. long
2 pounds of 3 in. wood screws (about 90 screws)
Before heading off to the lumber store, call and ask if they cut lumber in-house. Many will cut your wood for free or a nominal fee, which will save you a lot of time. Make sure to bring your cutting list with you. For your own cutting, use a hand saw or some kind of power saw, whatever you’re comfortable with.
Whether you’re cutting the wood yourself or having it done at the store, here’s what you should end up with:
Long sides: No need to cut these. Just set aside 4 of your 2 × 6 boards.
Short sides: Cut the other two 2 × 6 boards into 4 ft. pieces.
Corner posts: Cut your 4 × 4 into four 11 in. pieces (you’ll end up with a little scrap).
Braces: Cut the 2 × 4 into one 4 ft. piece and two 11 in. pieces.
What You’ll Need
It’s almost time for a trip to the lumber yard*. But first, take a look at this list of tools you’re likely to need:
Hand saw or power saw (If you know how to use it, a power circular saw or power miter box will speed up the cutting process.)
Tape measure
Pencil
Speed square
Electric drill, with both drilling and screw driving bits (Cordless drills are great when you’re outside!)
Paint brush or roller (if applying a wood treatment)
Don’t have tools? The tools above are relatively inexpensive to buy, but if new tools aren’t in the budget, you may be able to borrow them or find them used at a salvage or pawnshop. Many hardware stores rent power tools by the hour or day.
*(if you need more tips on preparing your garden design, or if you’d like some more visual prompts, check out our first book, Food Grown Right, In Your Backyard and/or our YouTube series)
Assembling Your Frame
First, if you’re using a wood treatment, now is the time to apply it. This will let you coat the end cuts before any of them get butted up against other pieces.
Measure as shown in the diagram, and drill pilot holes for your screws.
Assemble the frame. Start by screwing the short sides to the corner posts. Then stand the short sides up and screw the long sides to the posts (it helps to have an extra set of hands for this step). Screw the side braces to the long sides and the center brace to the side braces, and you’re done!
Line beds as needed:
Use landscape fabric if soil is contaminated or if the bed sits on pavement.
Add hardware cloth underneath to block burrowing pests - we started lining all of the beds we built because it is so effective in keeping out moles and voles, and it’s SO much easier to do before you fill the beds with soil.
Combo: Use both materials to deter roots and pests! Use hardware cloth first (touching the ground) and then line the inside of the beds with landscape fabric for the ultimate pest/root protection!
Positioning and Filling the Frame
Set the frame in place. If you’re placing it on level or gently sloping grass, no preparation is necessary—just put it down where you want it. If you’re placing it on bare soil, use a shovel or trowel to make a level base.
Fill the frame with soil. If you’re using a wheel-barrow, make a prop out of old bricks or scrap lumber to help you tip the soil into the bed (an old doormat will protect the lumber from getting beaten up). However, tipping out the soil can be difficult if the bed is 11 in. high, and impossible if it’s taller. If necessary, shovel the soil out of the wheelbarrow and into the bed.
Useful links:
~ Our lumber cut list, as well as a step by step video on building our wood-framed raised beds!
~ “Food grown Right, In your Backyard” - the essential handbook for beginning home gardeners. Combining our knowledge of small-scale organic food production, environmental education and residential landscaping, we have created a thorough, easy-to-use guide for backyard farmers. Including hundreds of instructional photographs, the book provides step-by-step information on everything you need to know when setting up and caring for a home garden including: garden site selection, garden construction, crop selection, garden maintenance and crop harvesting. “Food Grown Right, In Your Backyard” will be your go-to gardening companion, always on hand to provide quick answers to your gardening questions.


Pro tips on building durable, productive garden beds that fit your space and style.