The Freyr trellis was designed to be easy to set up. We wanted the installation process to feel simple, fast, and require a minimum of tools. However, taking a little time to closely follow the instructions will go a long way in making your trellis as stable and attractive as possible!
Here are a few tips to make sure your setup goes smoothly:
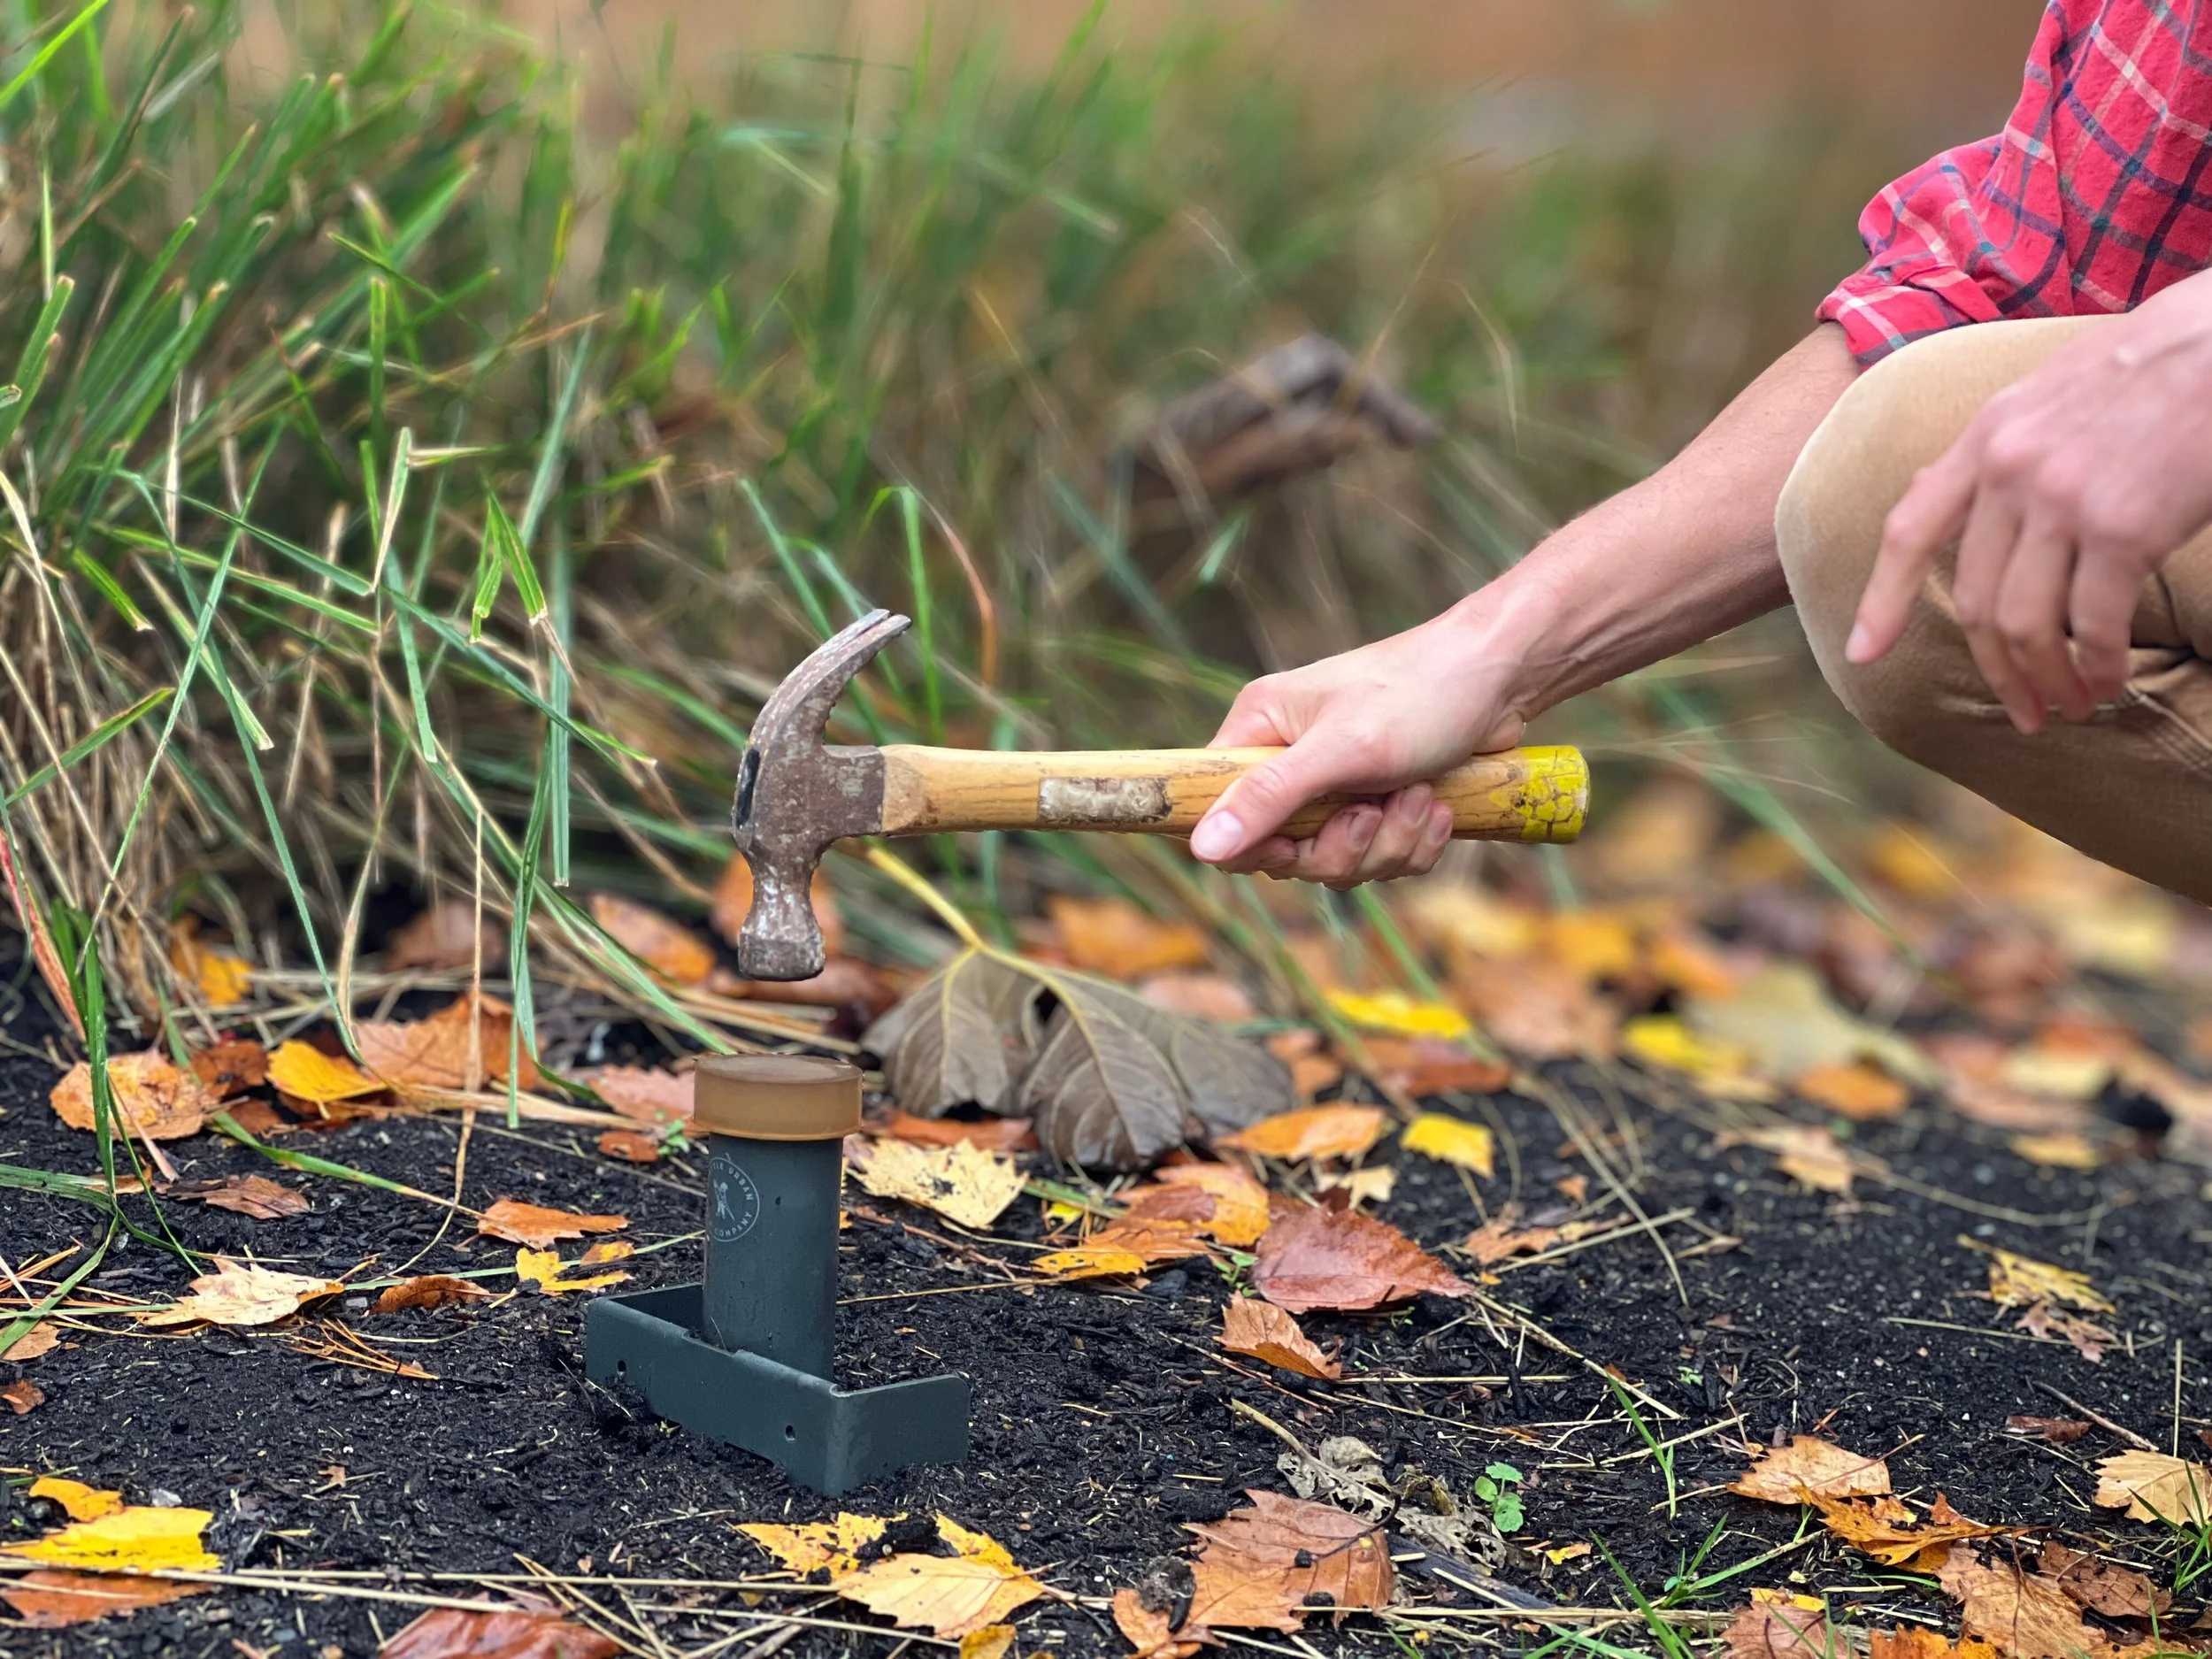
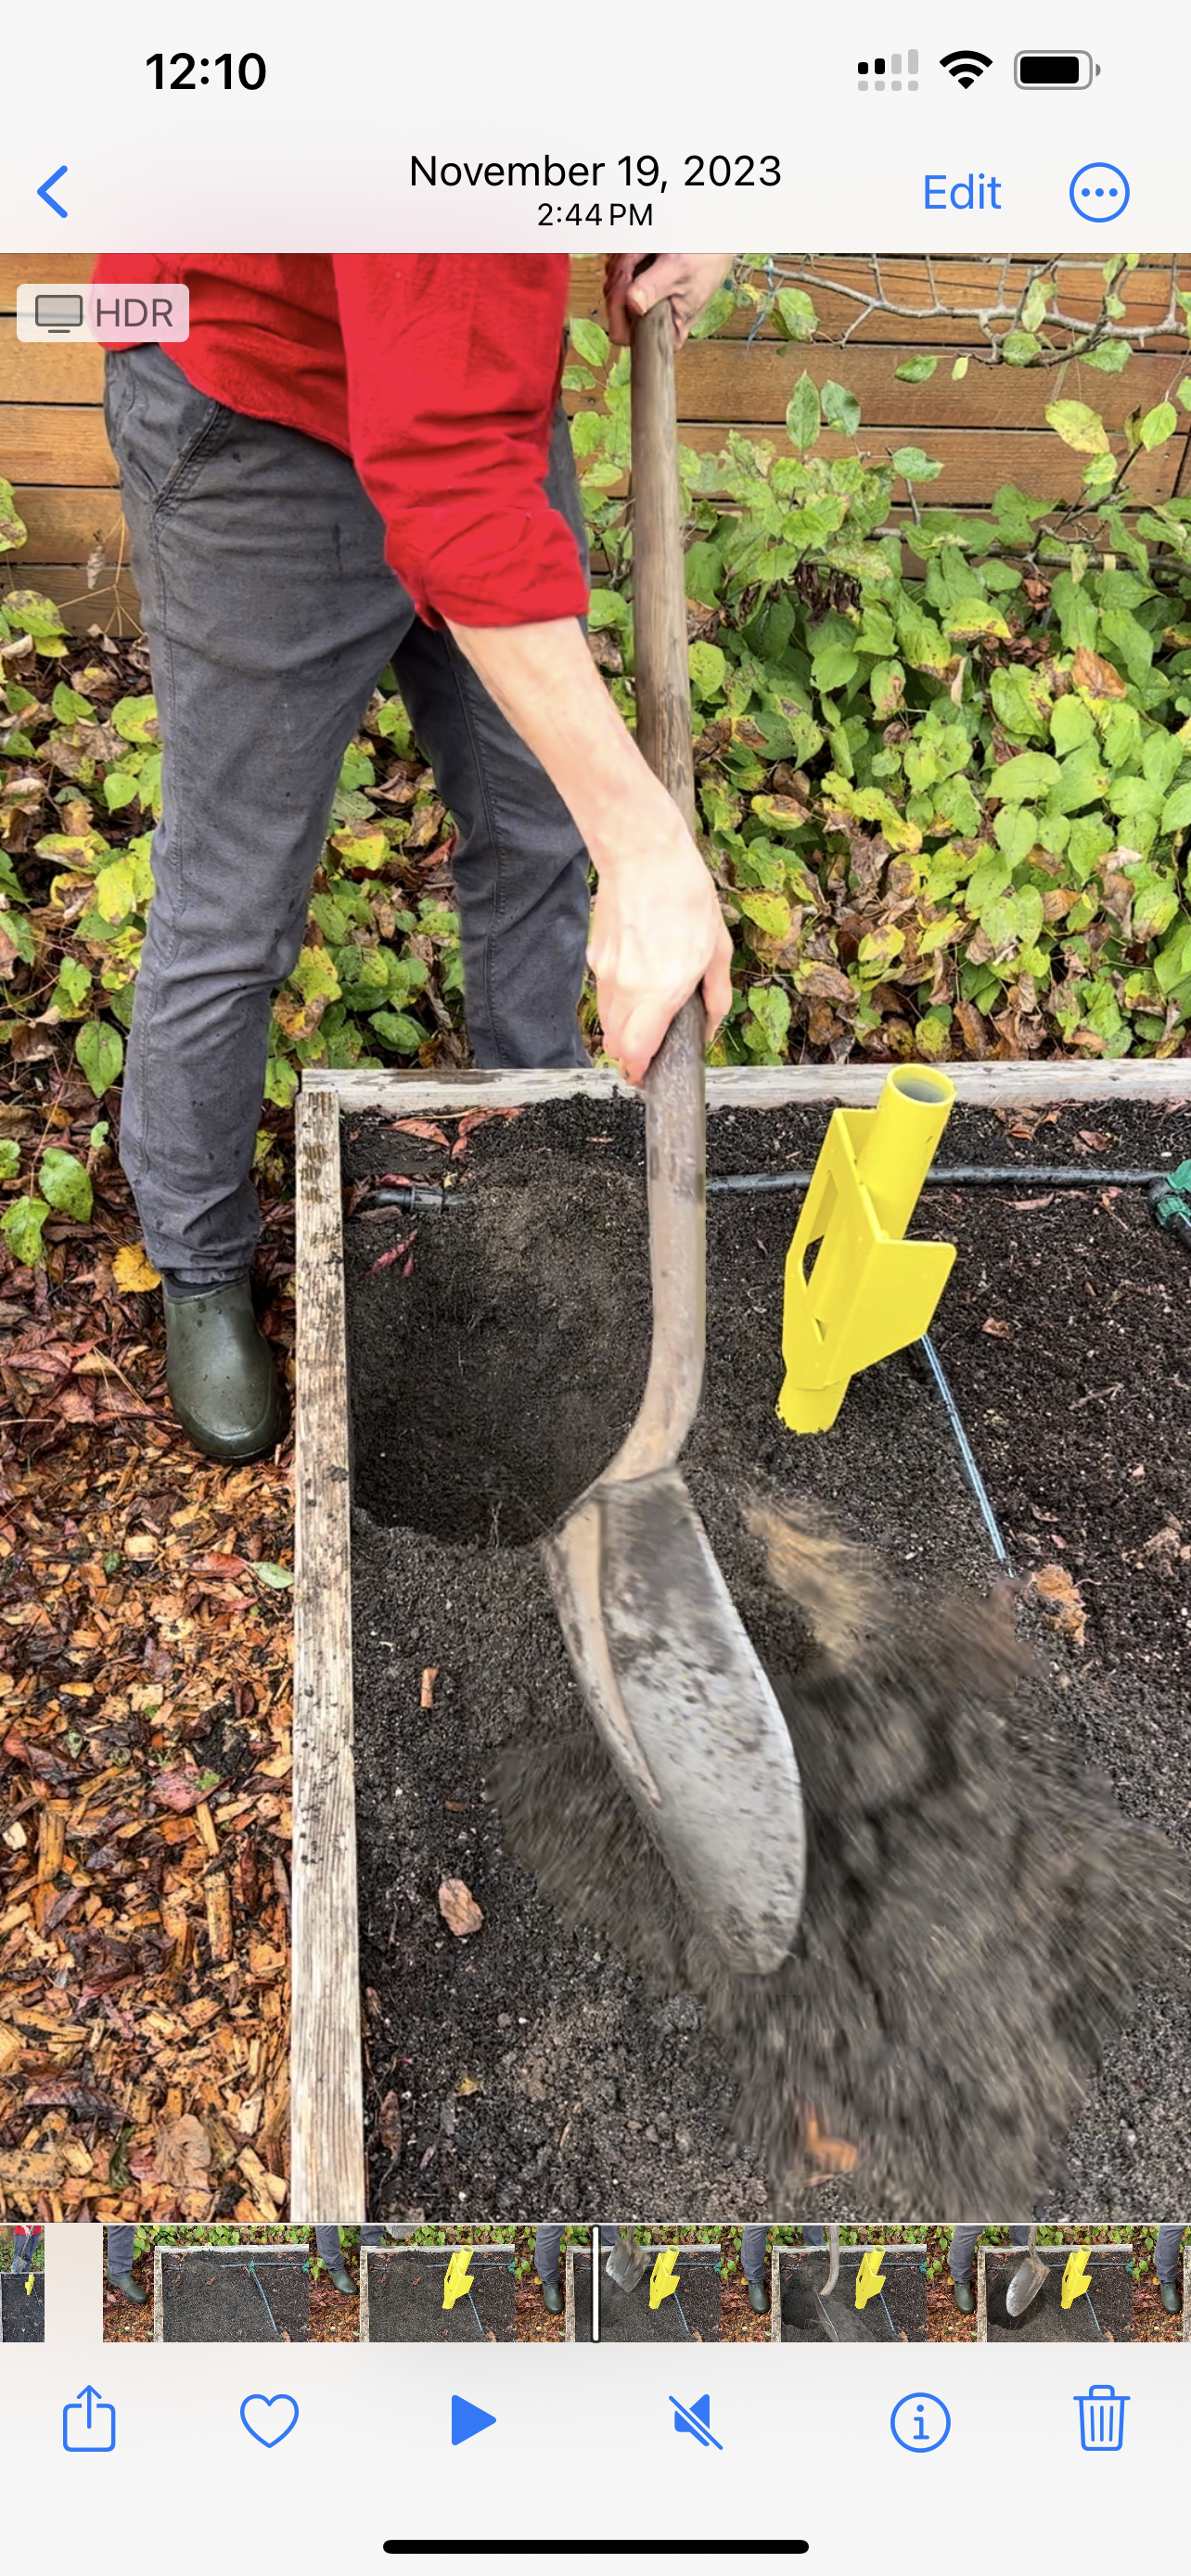
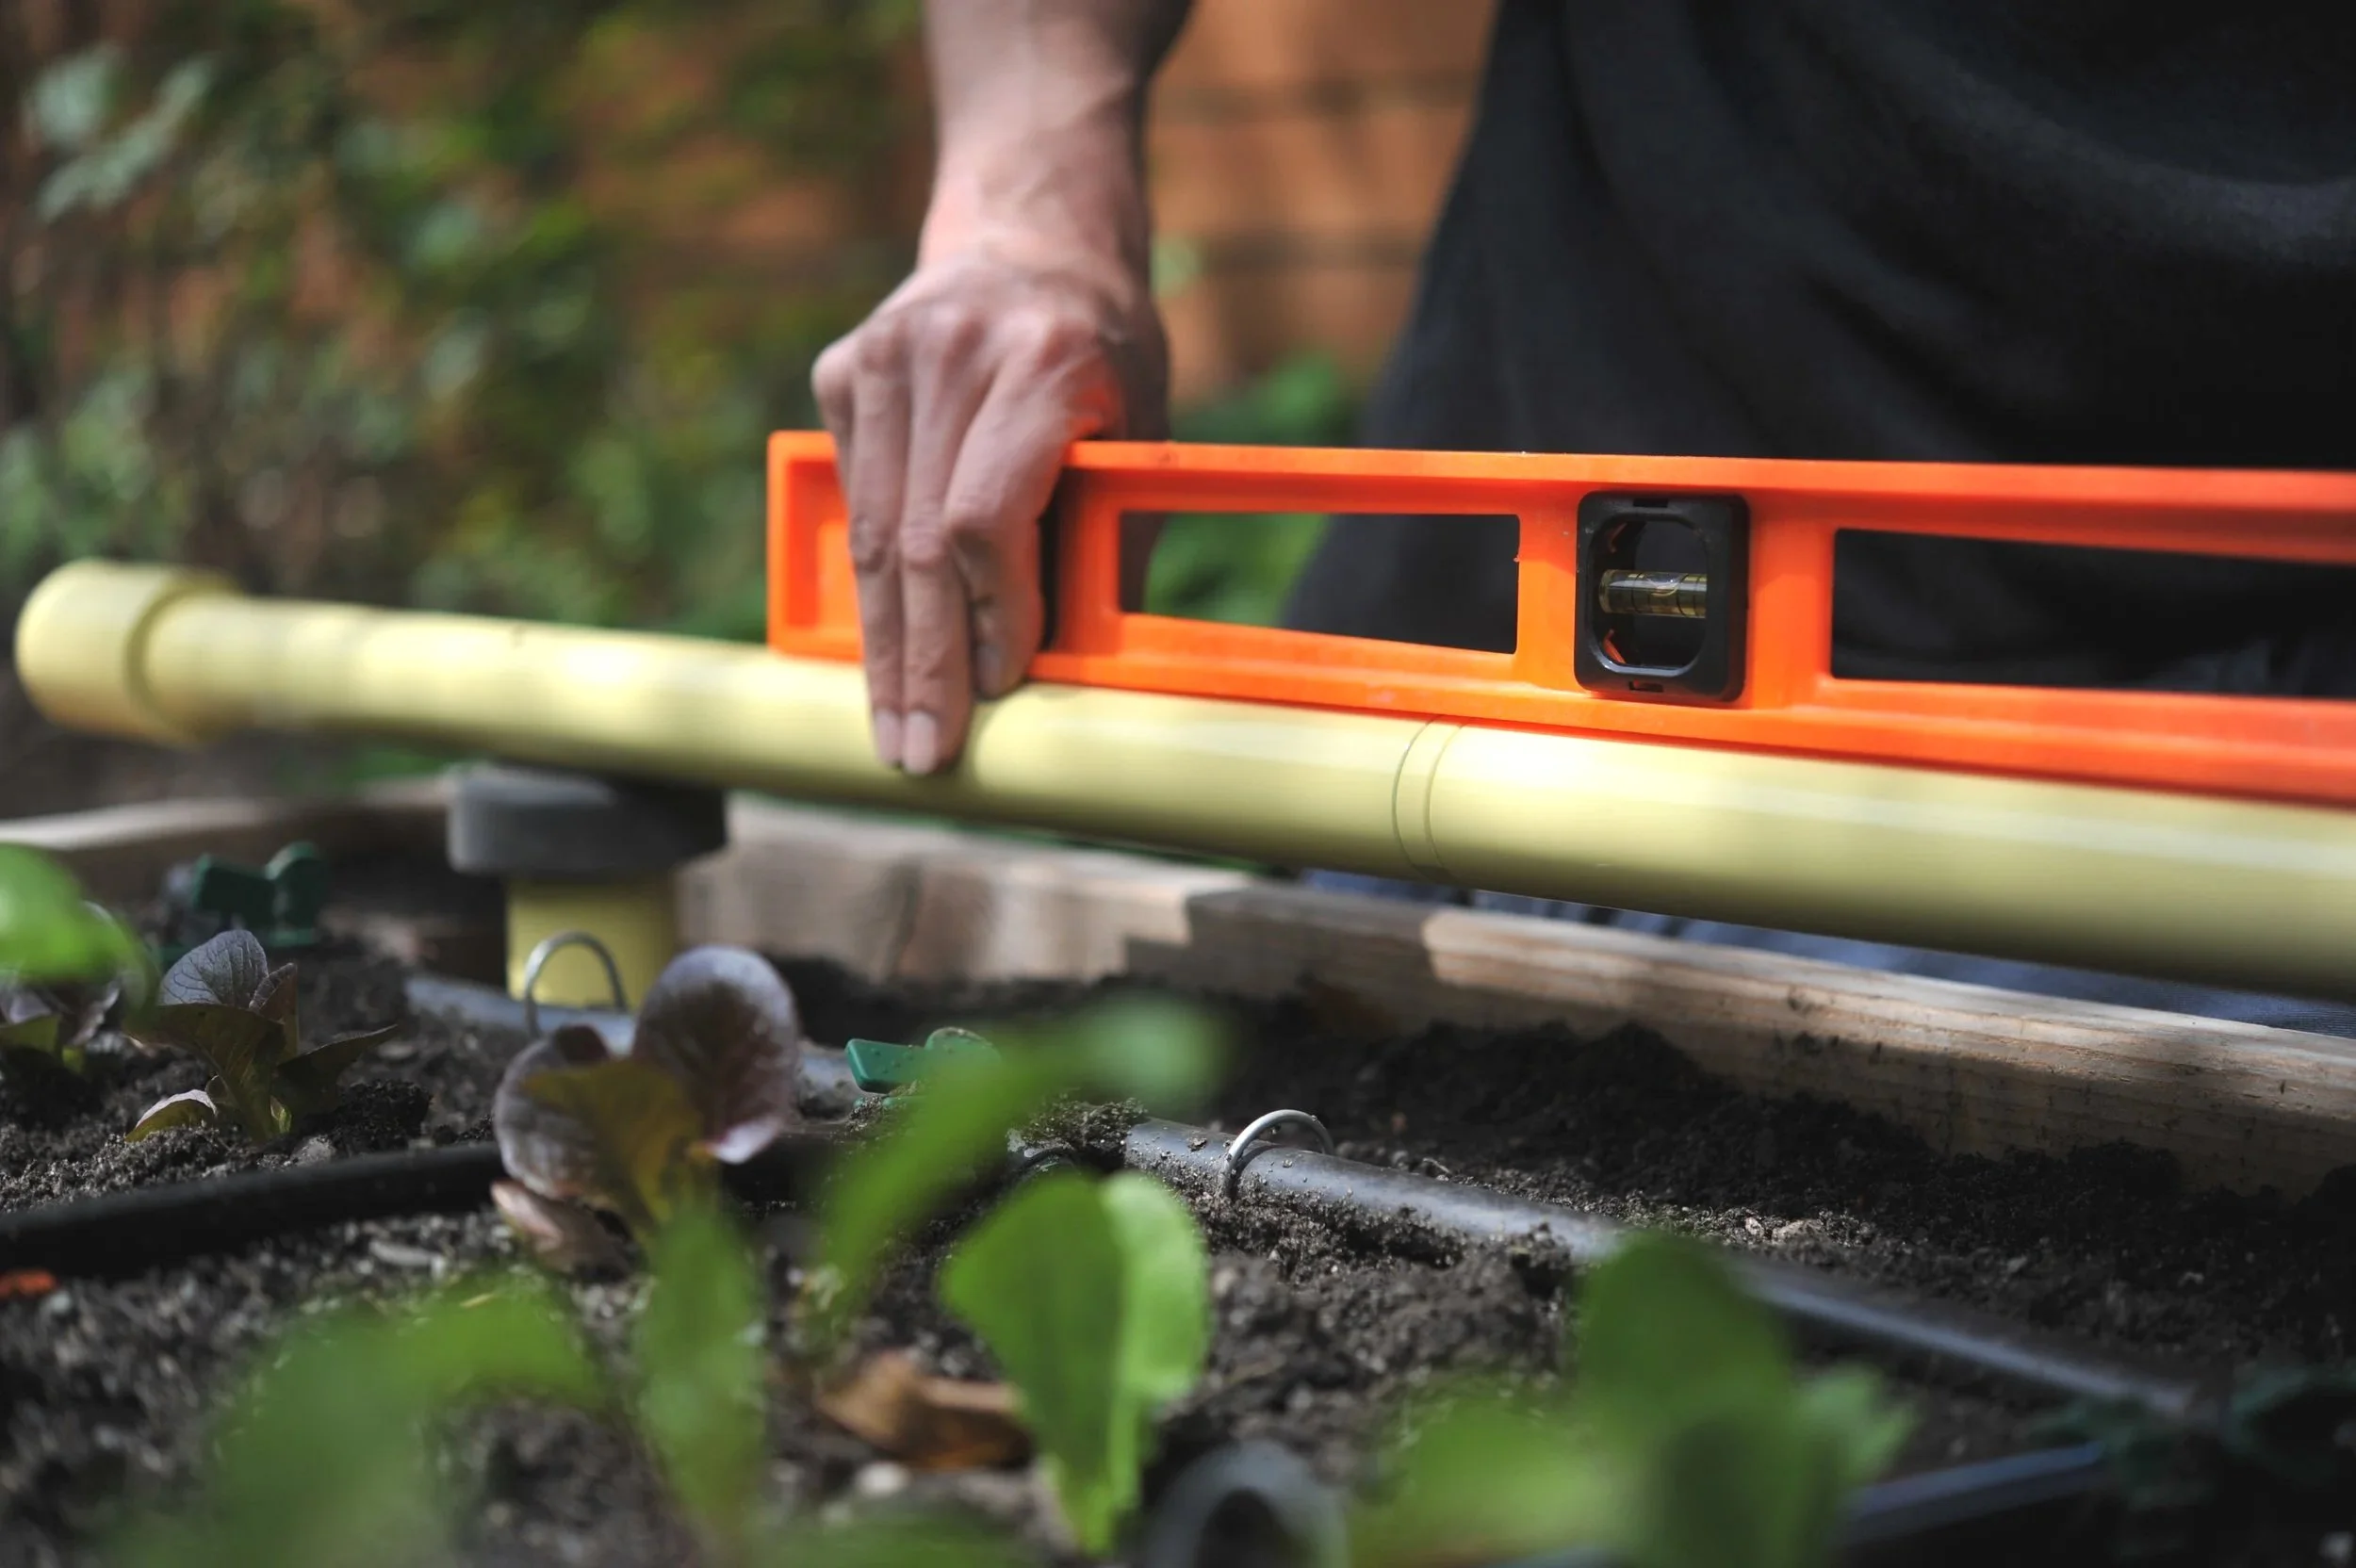
Sink the ground anchor as deep as possible when installing the Freyr trellis
Sink the ground anchors as deep as possible.
The trellis comes with 2 ground anchors. These pieces sink into the soil and hold your trellis upright. The anchors are about 18” long and can be set into the soil up to about 16” deep. The very top of the anchor needs to be above soil level so that you can tighten the set screw (and so soil doesn’t fall into the top of the anchor!)
We recommend setting the anchors at least 12” deep, but deeper is always better if possible.
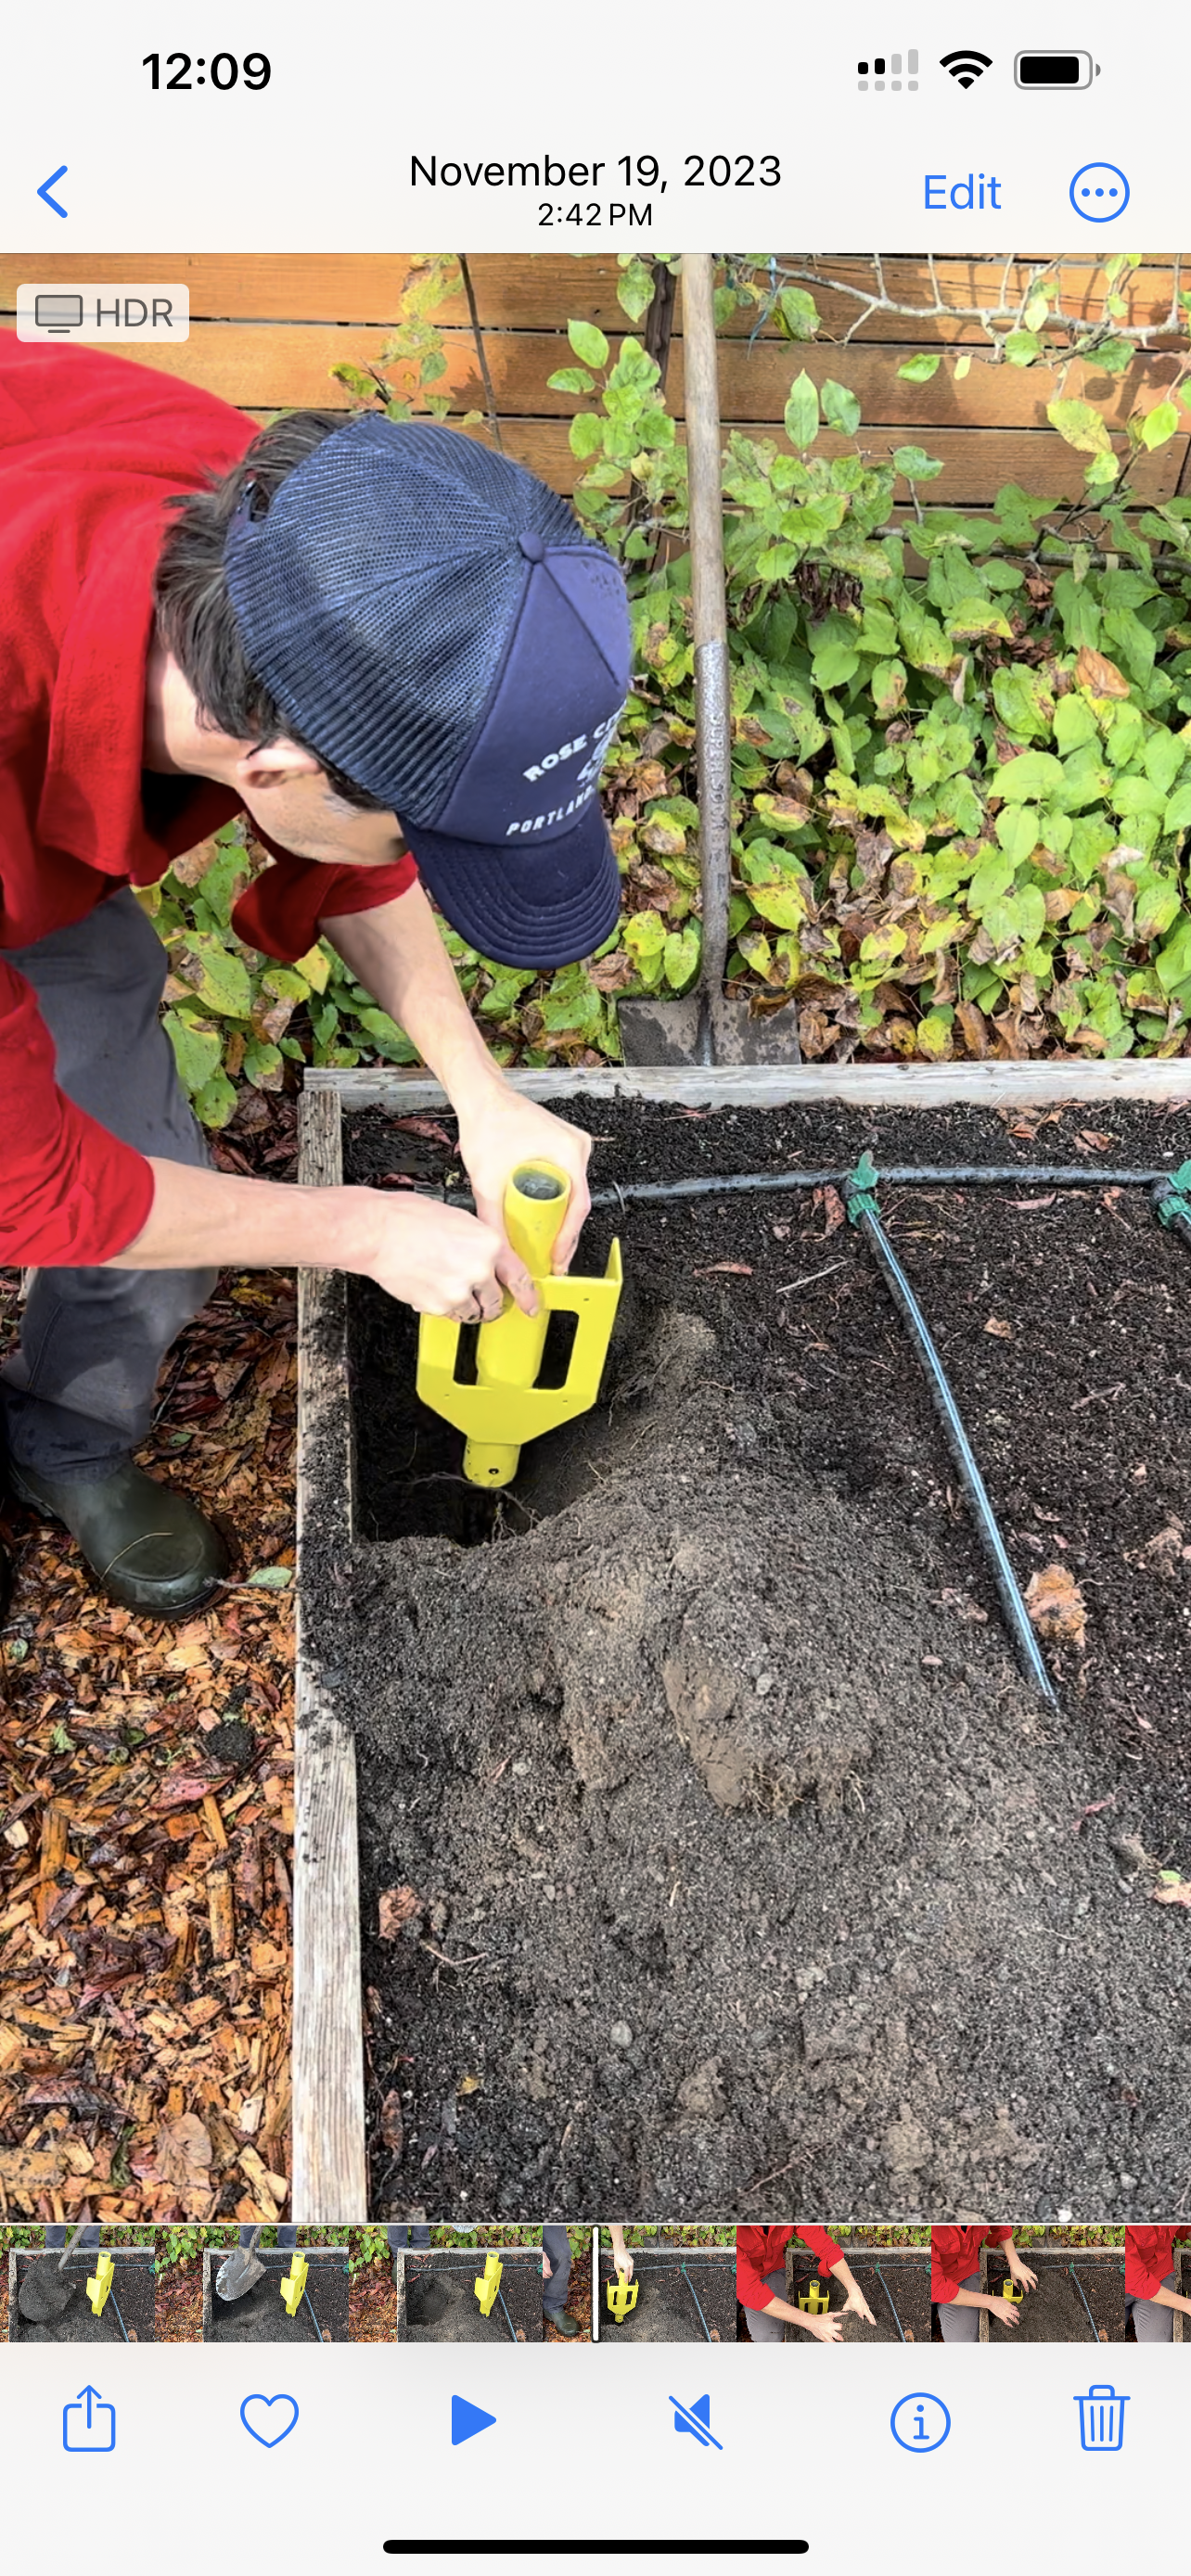
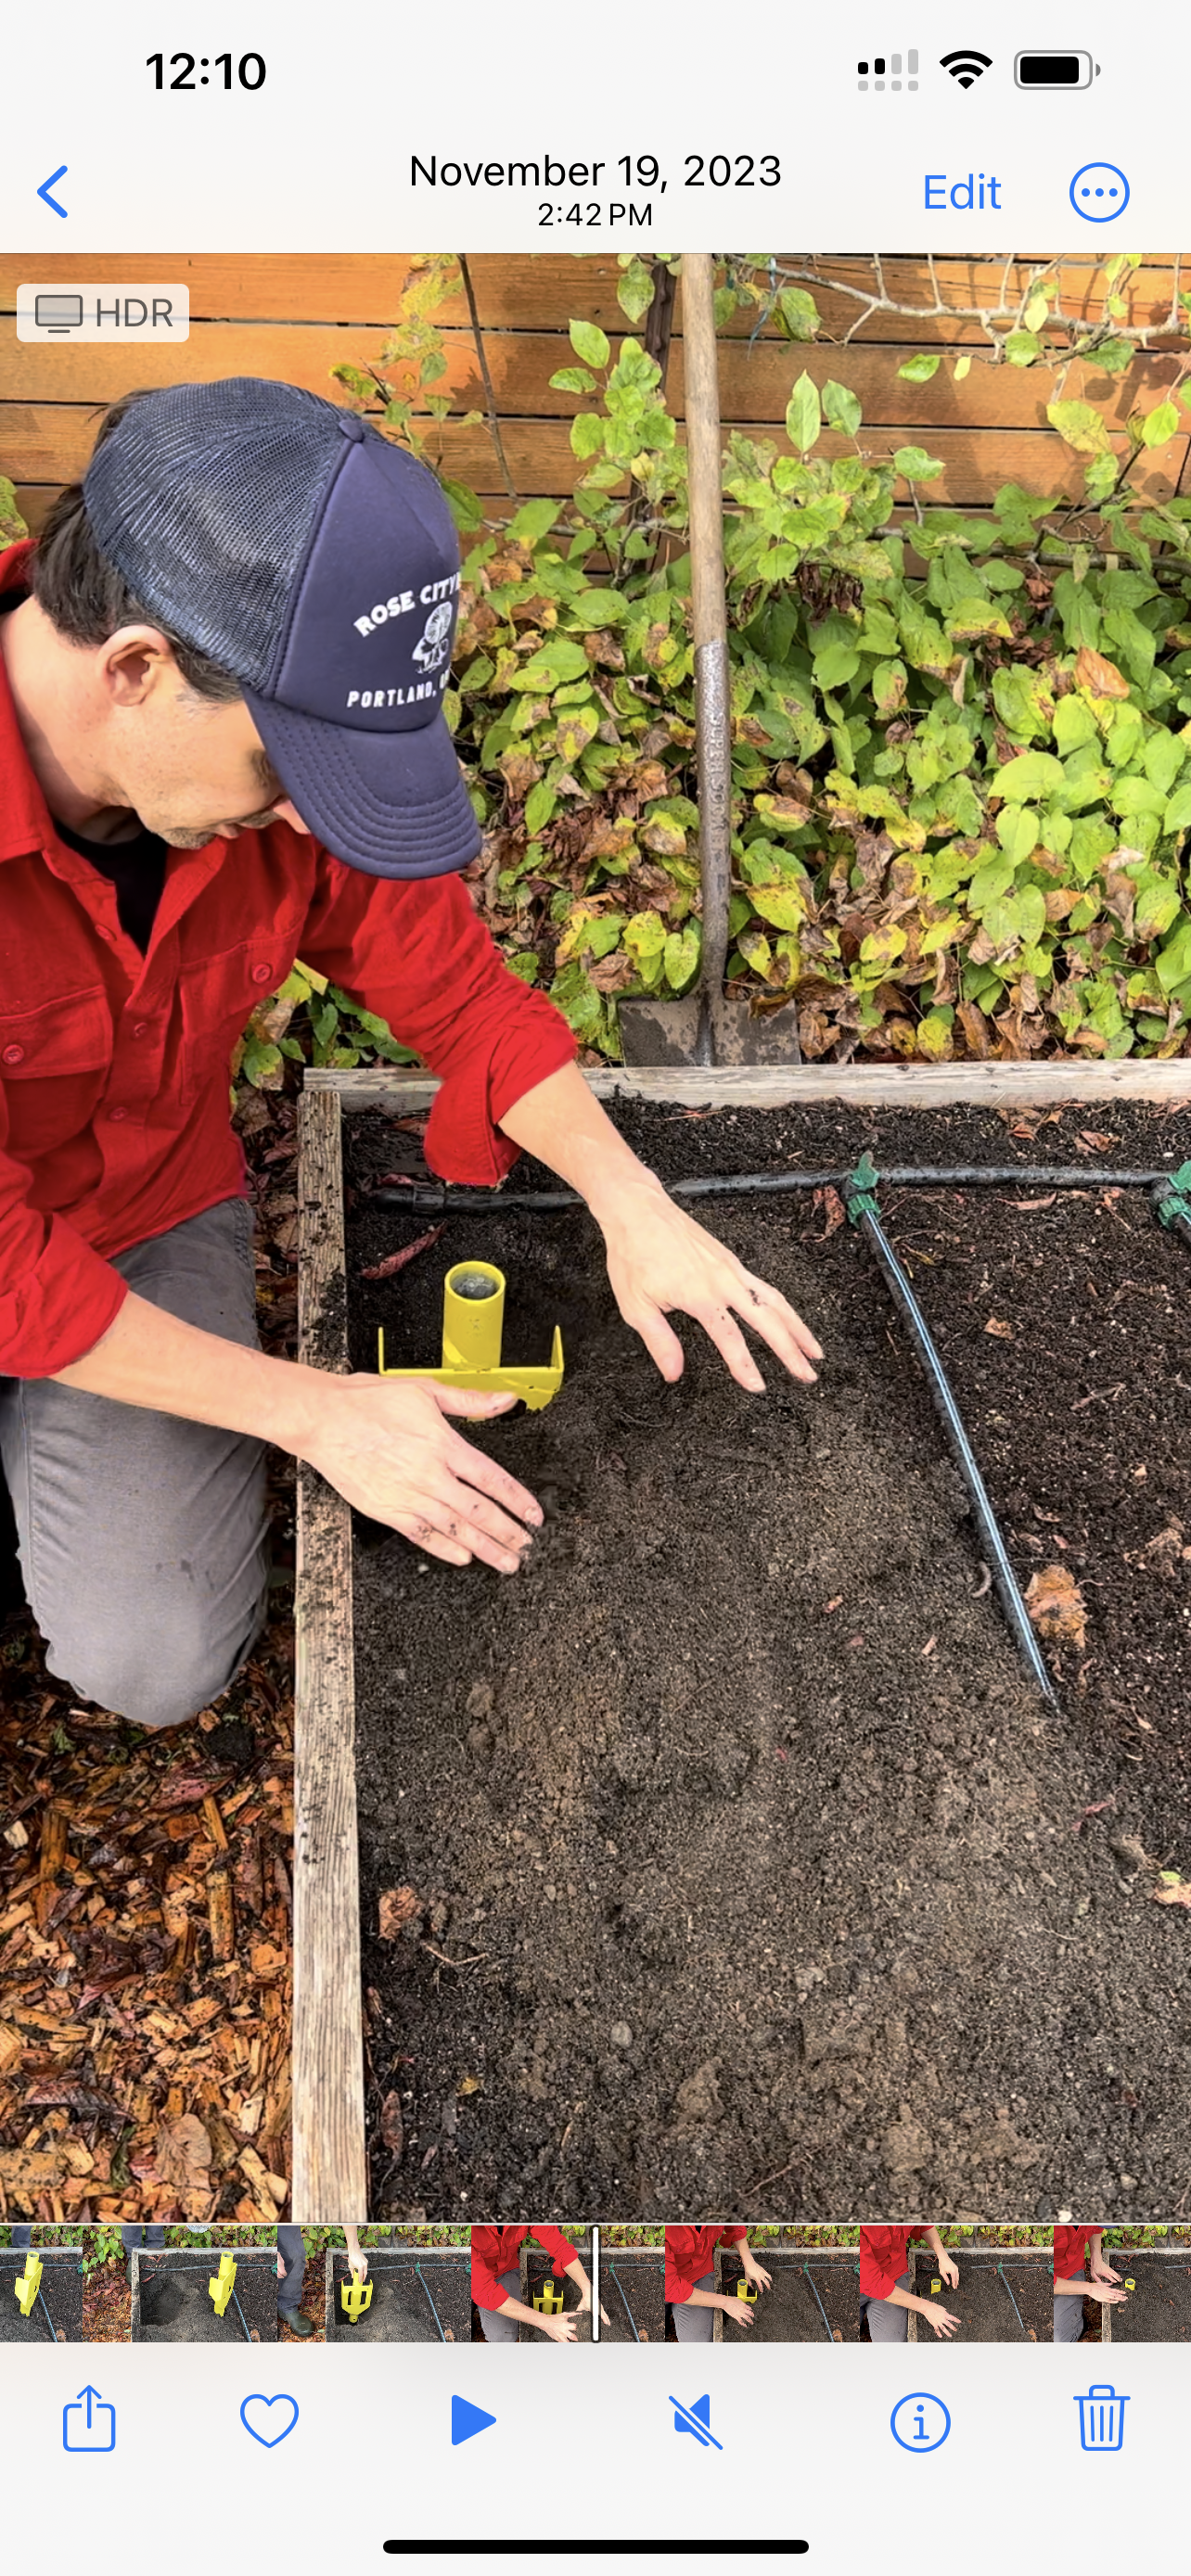
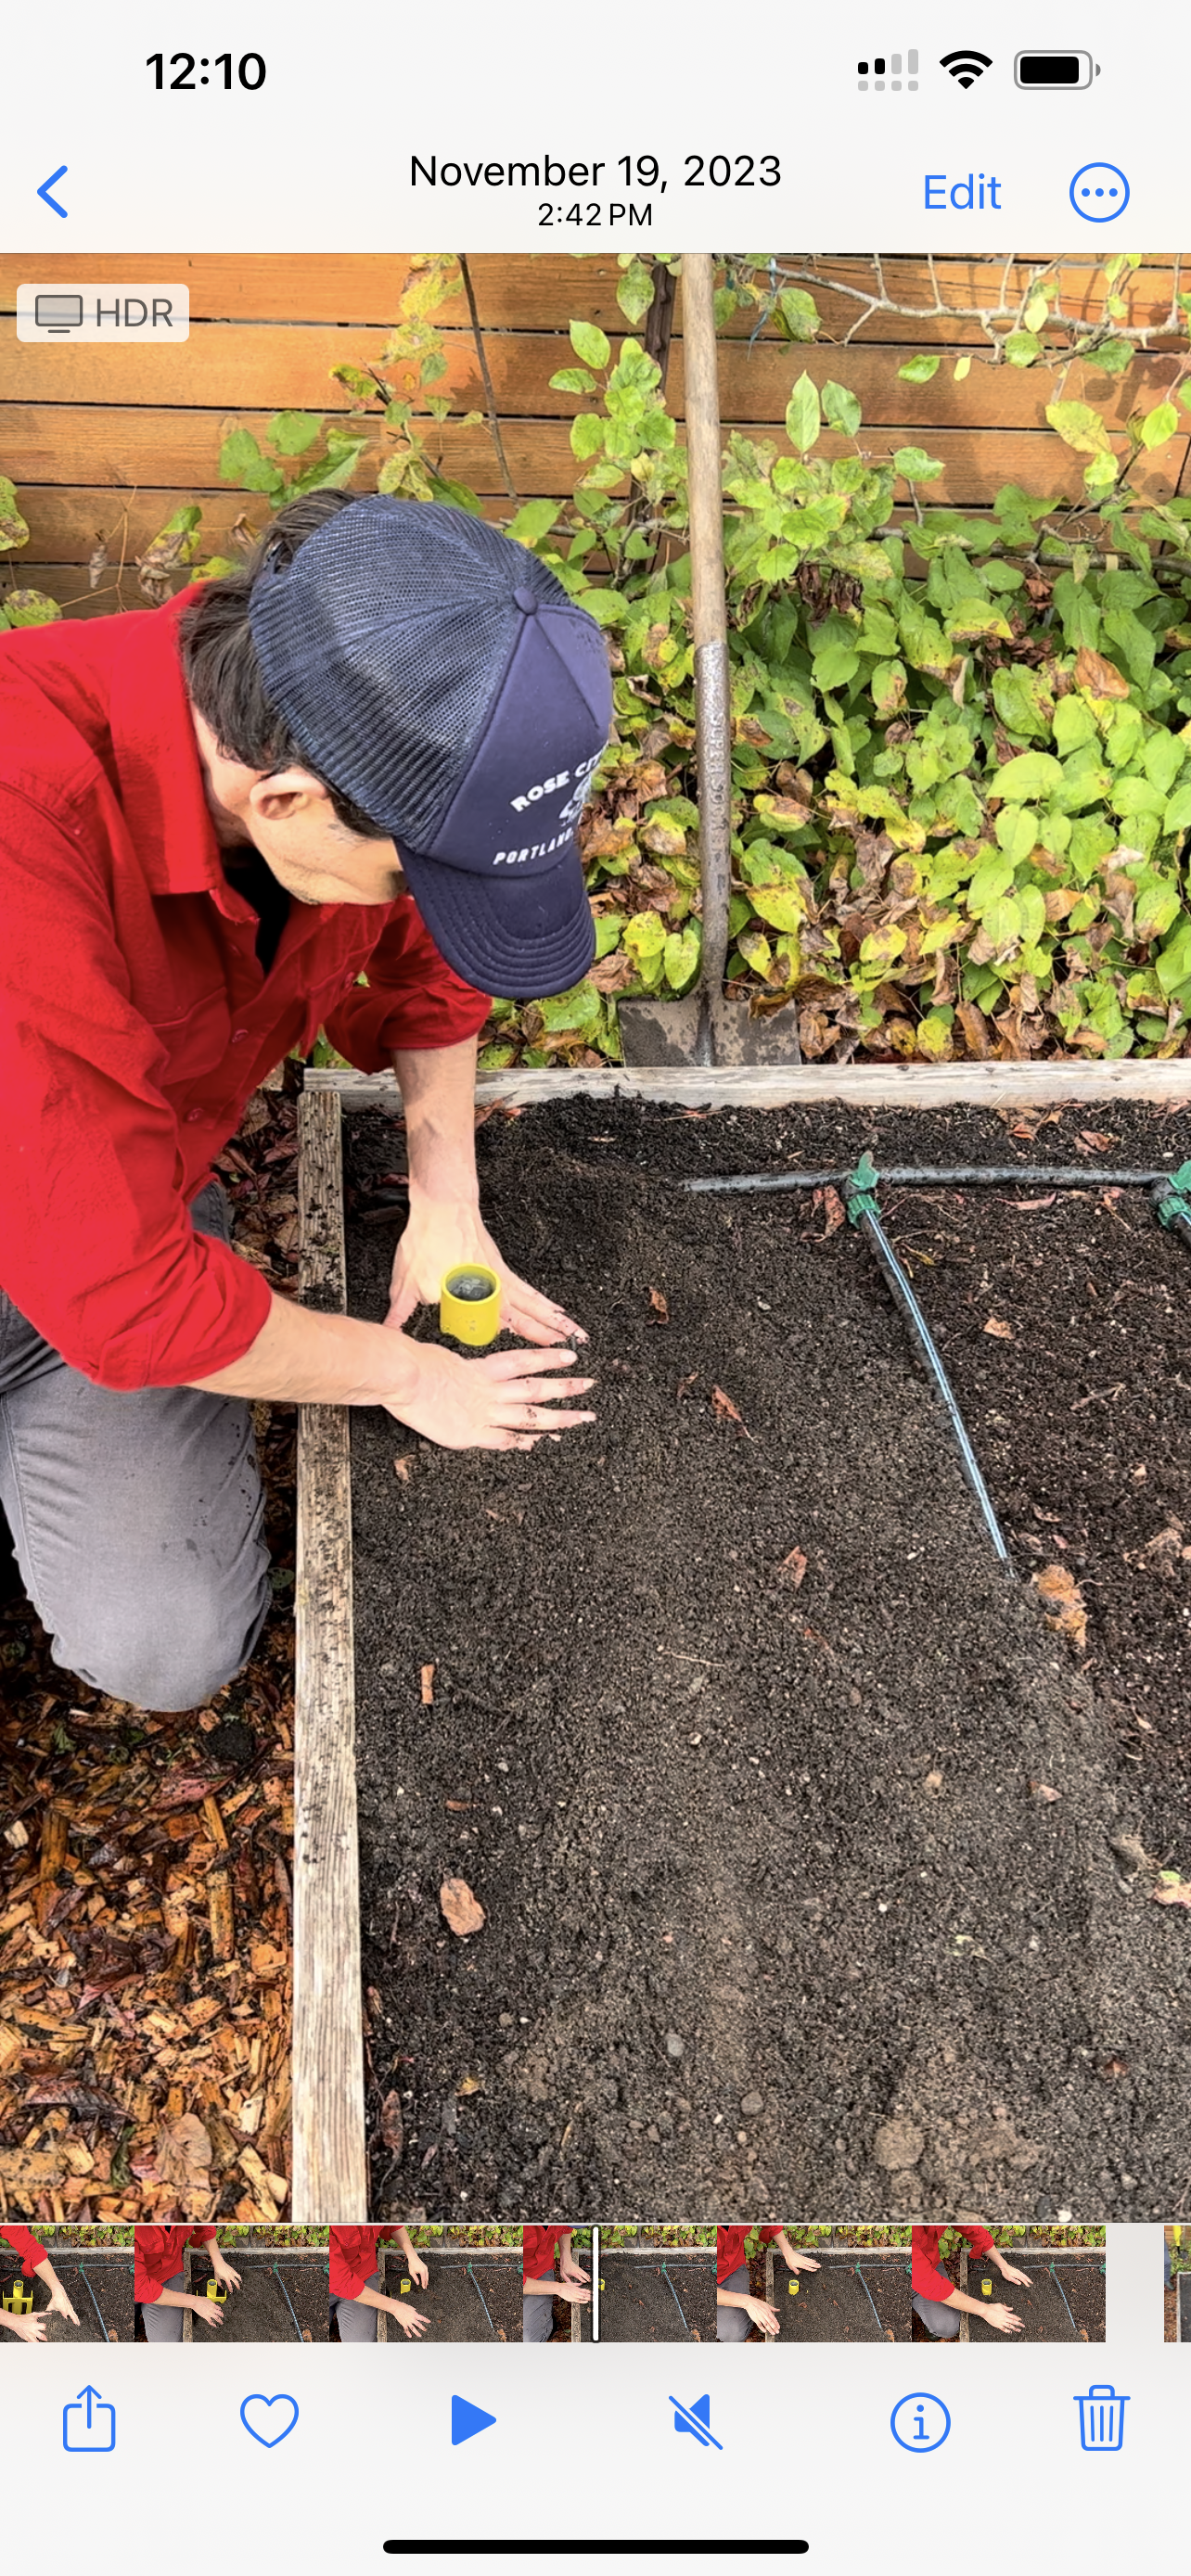
The trellis comes with 2 black anchor caps and 1 yellow hammering cap. The black caps are optional and can be used to cover the tops of your anchors if you decide to take down the trellis in the off-season but want to leave the anchors in place for next year. The yellow hammering cap should be placed on the top of the anchors during installation so you can hit the hammering cap as hard as you want without fear of damaging the anchor. If you’re Thor and the yellow cap gets stuck after hammering, just lightly tap it on the side and it’ll pop right out!
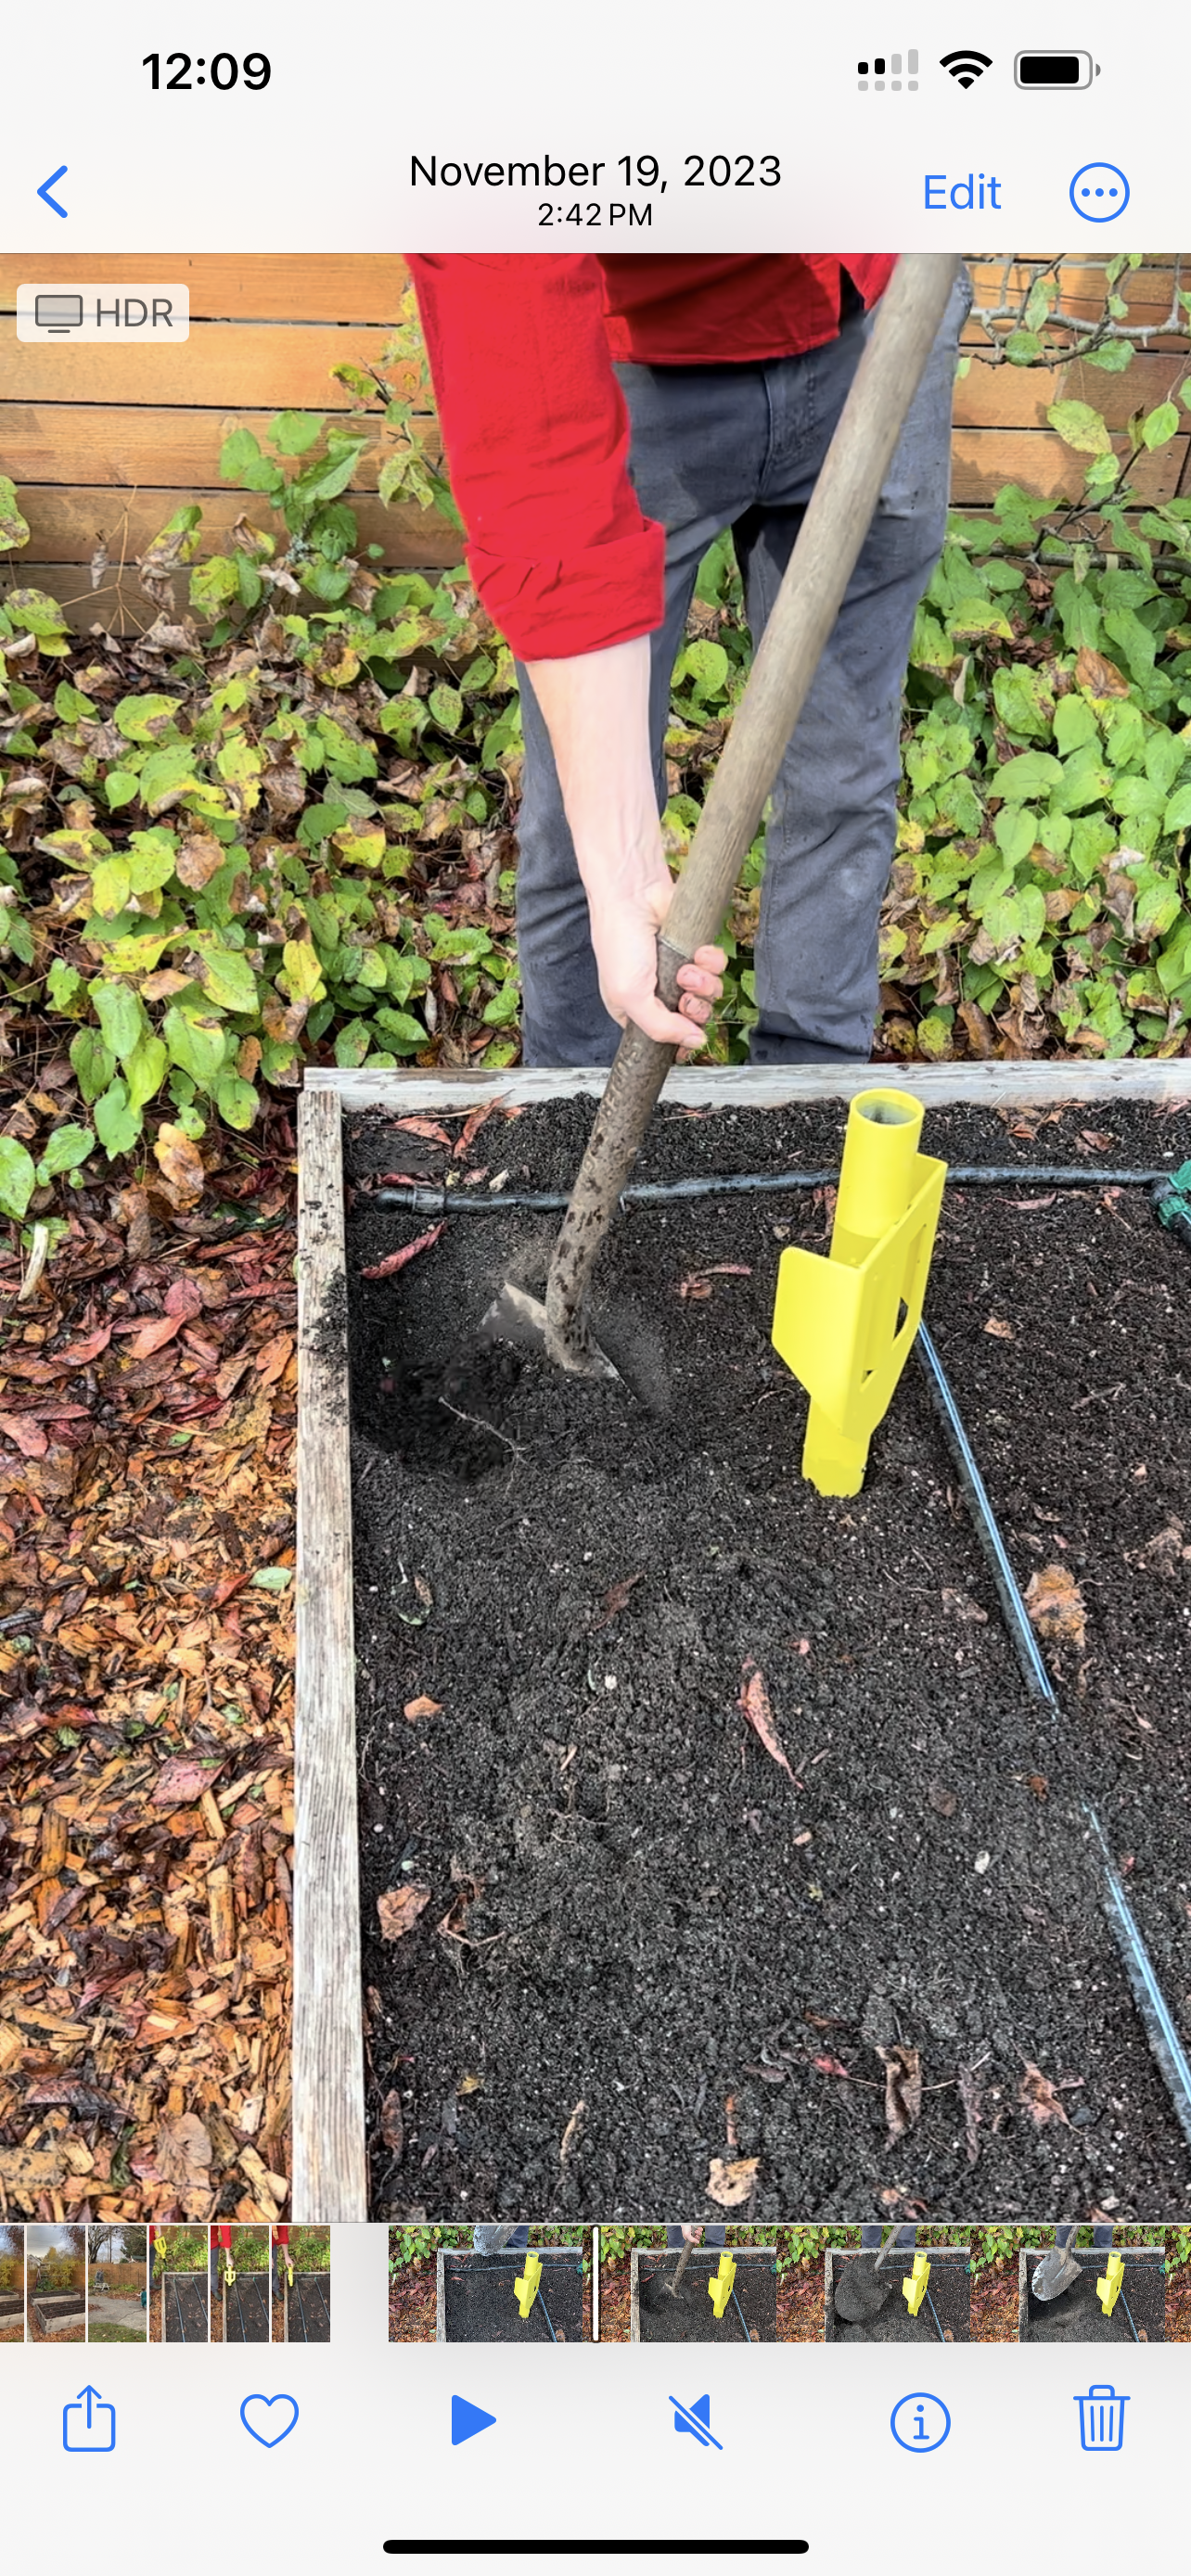
If your soil is difficult to work or you just don’t like the idea of hammering the anchors, another option is to dig a hole, place the anchor into the hole, fill it back up and tamp the soil around the anchor to stabilize it. Some people actually find this technique easier.
Leveling the Frey trellis during installation


Use a level and tape measure
Not every garden bed is completely level (in fact most aren’t). If your bed slopes in the direction the trellis is spanning, you may need to set one ground anchor deeper into the ground than the other to make sure the top bar of the trellis is level. This isn’t essential, the trellis will work with a slight slope, but it looks better when it’s level!
You can easily check the level of your anchors by:
Assembling your top bar
Placing a black anchor cap into each anchor
Placing the top bar across the anchor caps and placing a level on top of the bar.
Once your anchors are level, you’re almost done! Check the level of your posts side-to-side and back-to-back to make sure they are straight. Then simply snap the top bar into place.
The trellis comes with optional joint sleeves. This are covers for the fitting at the top of your posts. They add a little bit of friction, which helps the top bar stay in place and feel snug. They’re not necessary, some people prefer to use them and some don’t!
Tighten your set screws
Once your anchors, posts, and top bar are in place and looking good, the last step is just to tighten down the set screws at the top of the ground anchors. Your trellis comes with an allen wrench. Just tighten each screw with the wrench. This will help keep everything in place.
Remember to loosen the set screw before you take down your trellis! If you don’t loosen the screw, it may make it impossible to remove the posts (or it might scratch the powder-coating).
That’s a lot of words to describe a relatively simple process! We hope it took longer to read this article than it does to set up the trellis. Of course, if you have any questions at all, please reach out at: info@seattleurbanfarmco.com
Thank you! We’re so glad you’re here ♥️