
Our April gardening challenge: take preventative action against pests in your garden this year!
After growing food in a few different regions of the country, I actually think that we get off relatively easy in the PNW when it comes to pest problems. There are some heavy hitting bugs out there on the other side of the Rocky Mountains that we don’t want any part of. That being said, insect and animal pests drive me crazy and they cause enough problems to drive a man to drinking (not that I need an excuse…)
We spend a lot of time each year, preparing for the problems that we know are inevitable. I think all west coast hippies will agree, just like preventative medicine practices (regular tooth brushing, biking to work) reduce your chances of spending time in the hospital, preventative pest management reduces your chances of mid-season emotional breakdowns in the garden.
I guarantee that your time and effort will be repaid later in the season. These techniques may not solve all of your problems outright, but they will reduce pest damage and even save the lives of otherwise doomed plants.
Primary Culprits and Prevention Techniques:
1. Aphids: These small, sticky bugs make their appearance in the garden early in the summer, and hang around until the fall (and can live all winter in greenhouses or covered beds). There are a lot of different varieties of aphids; some focus only on very specific plants and others will spread out across the garden from crop to crop. Aphids are a truly remarkable animal, reproducing at a rate that seems impossible. When the insects are born; they are already impregnated with the next generation!
Many people will suggest using “trap crops” like nasturtiums and dill to attract aphids. The idea being that the bugs will flock to those sacrificial crops and leave your other plants alone. More often than not, we see trap crops working more like aphid nurseries, giving the bugs a place to reproduce until they reach critical mass and then spilling over into the rest of the garden. If you plan to use trap crops, make sure to keep an eye on them and remove them from the garden once they have become infested with aphids.
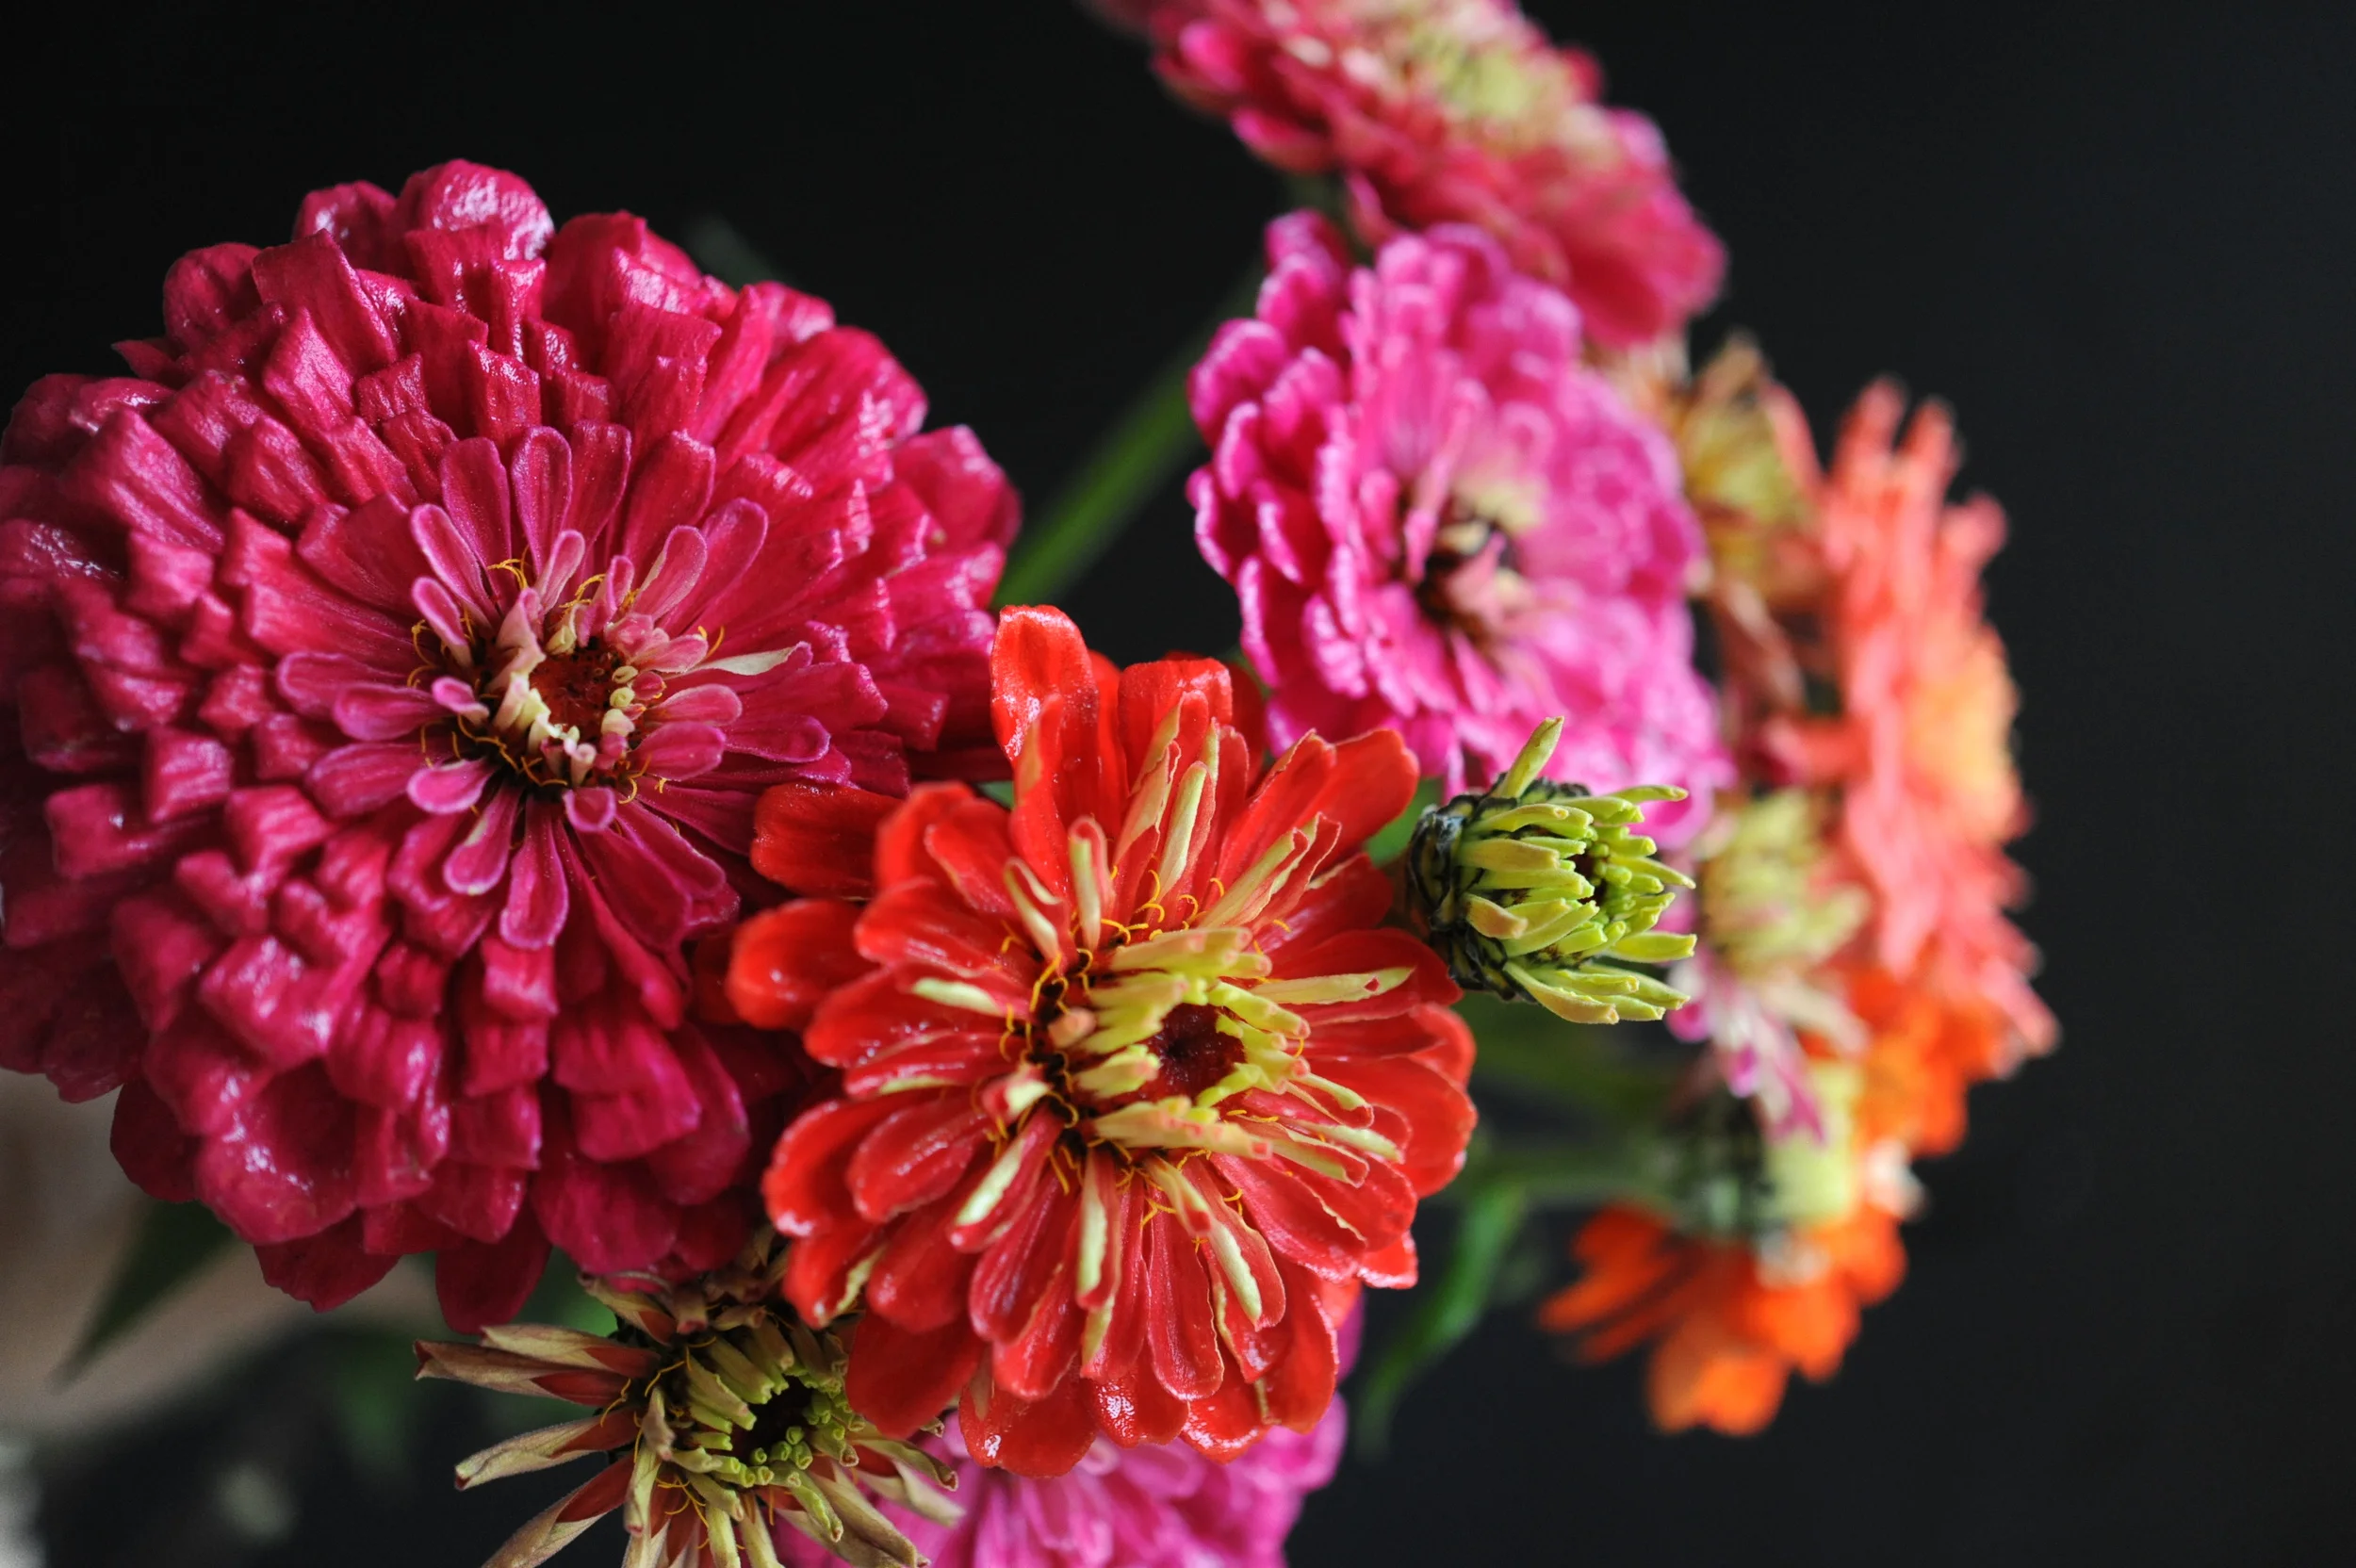
In my opinion, attracting predator insects to the garden is the most effective long-term solution to aphid problems. Below is a list of some annual and perennial flowers that you can plant in and around the garden to attract bugs that like to feed on aphids. If you start establishing an area for these flowering plants this season, each subsequent year you will build a larger population of local predatory insects (just like putting out bird feeders brings birds to the neighborhood). The effectiveness of your insectory will improve each year…so get started this spring. Primary aphid predators are ladybugs and lacewings, so look for flowers that appeal to those bugs.
Flowers to attract aphid predators:
Cornflower
Alyssum
Cilantro (let some of your cilantro bolt and flower…it wants to anyway)
Cosmos
Sunflower
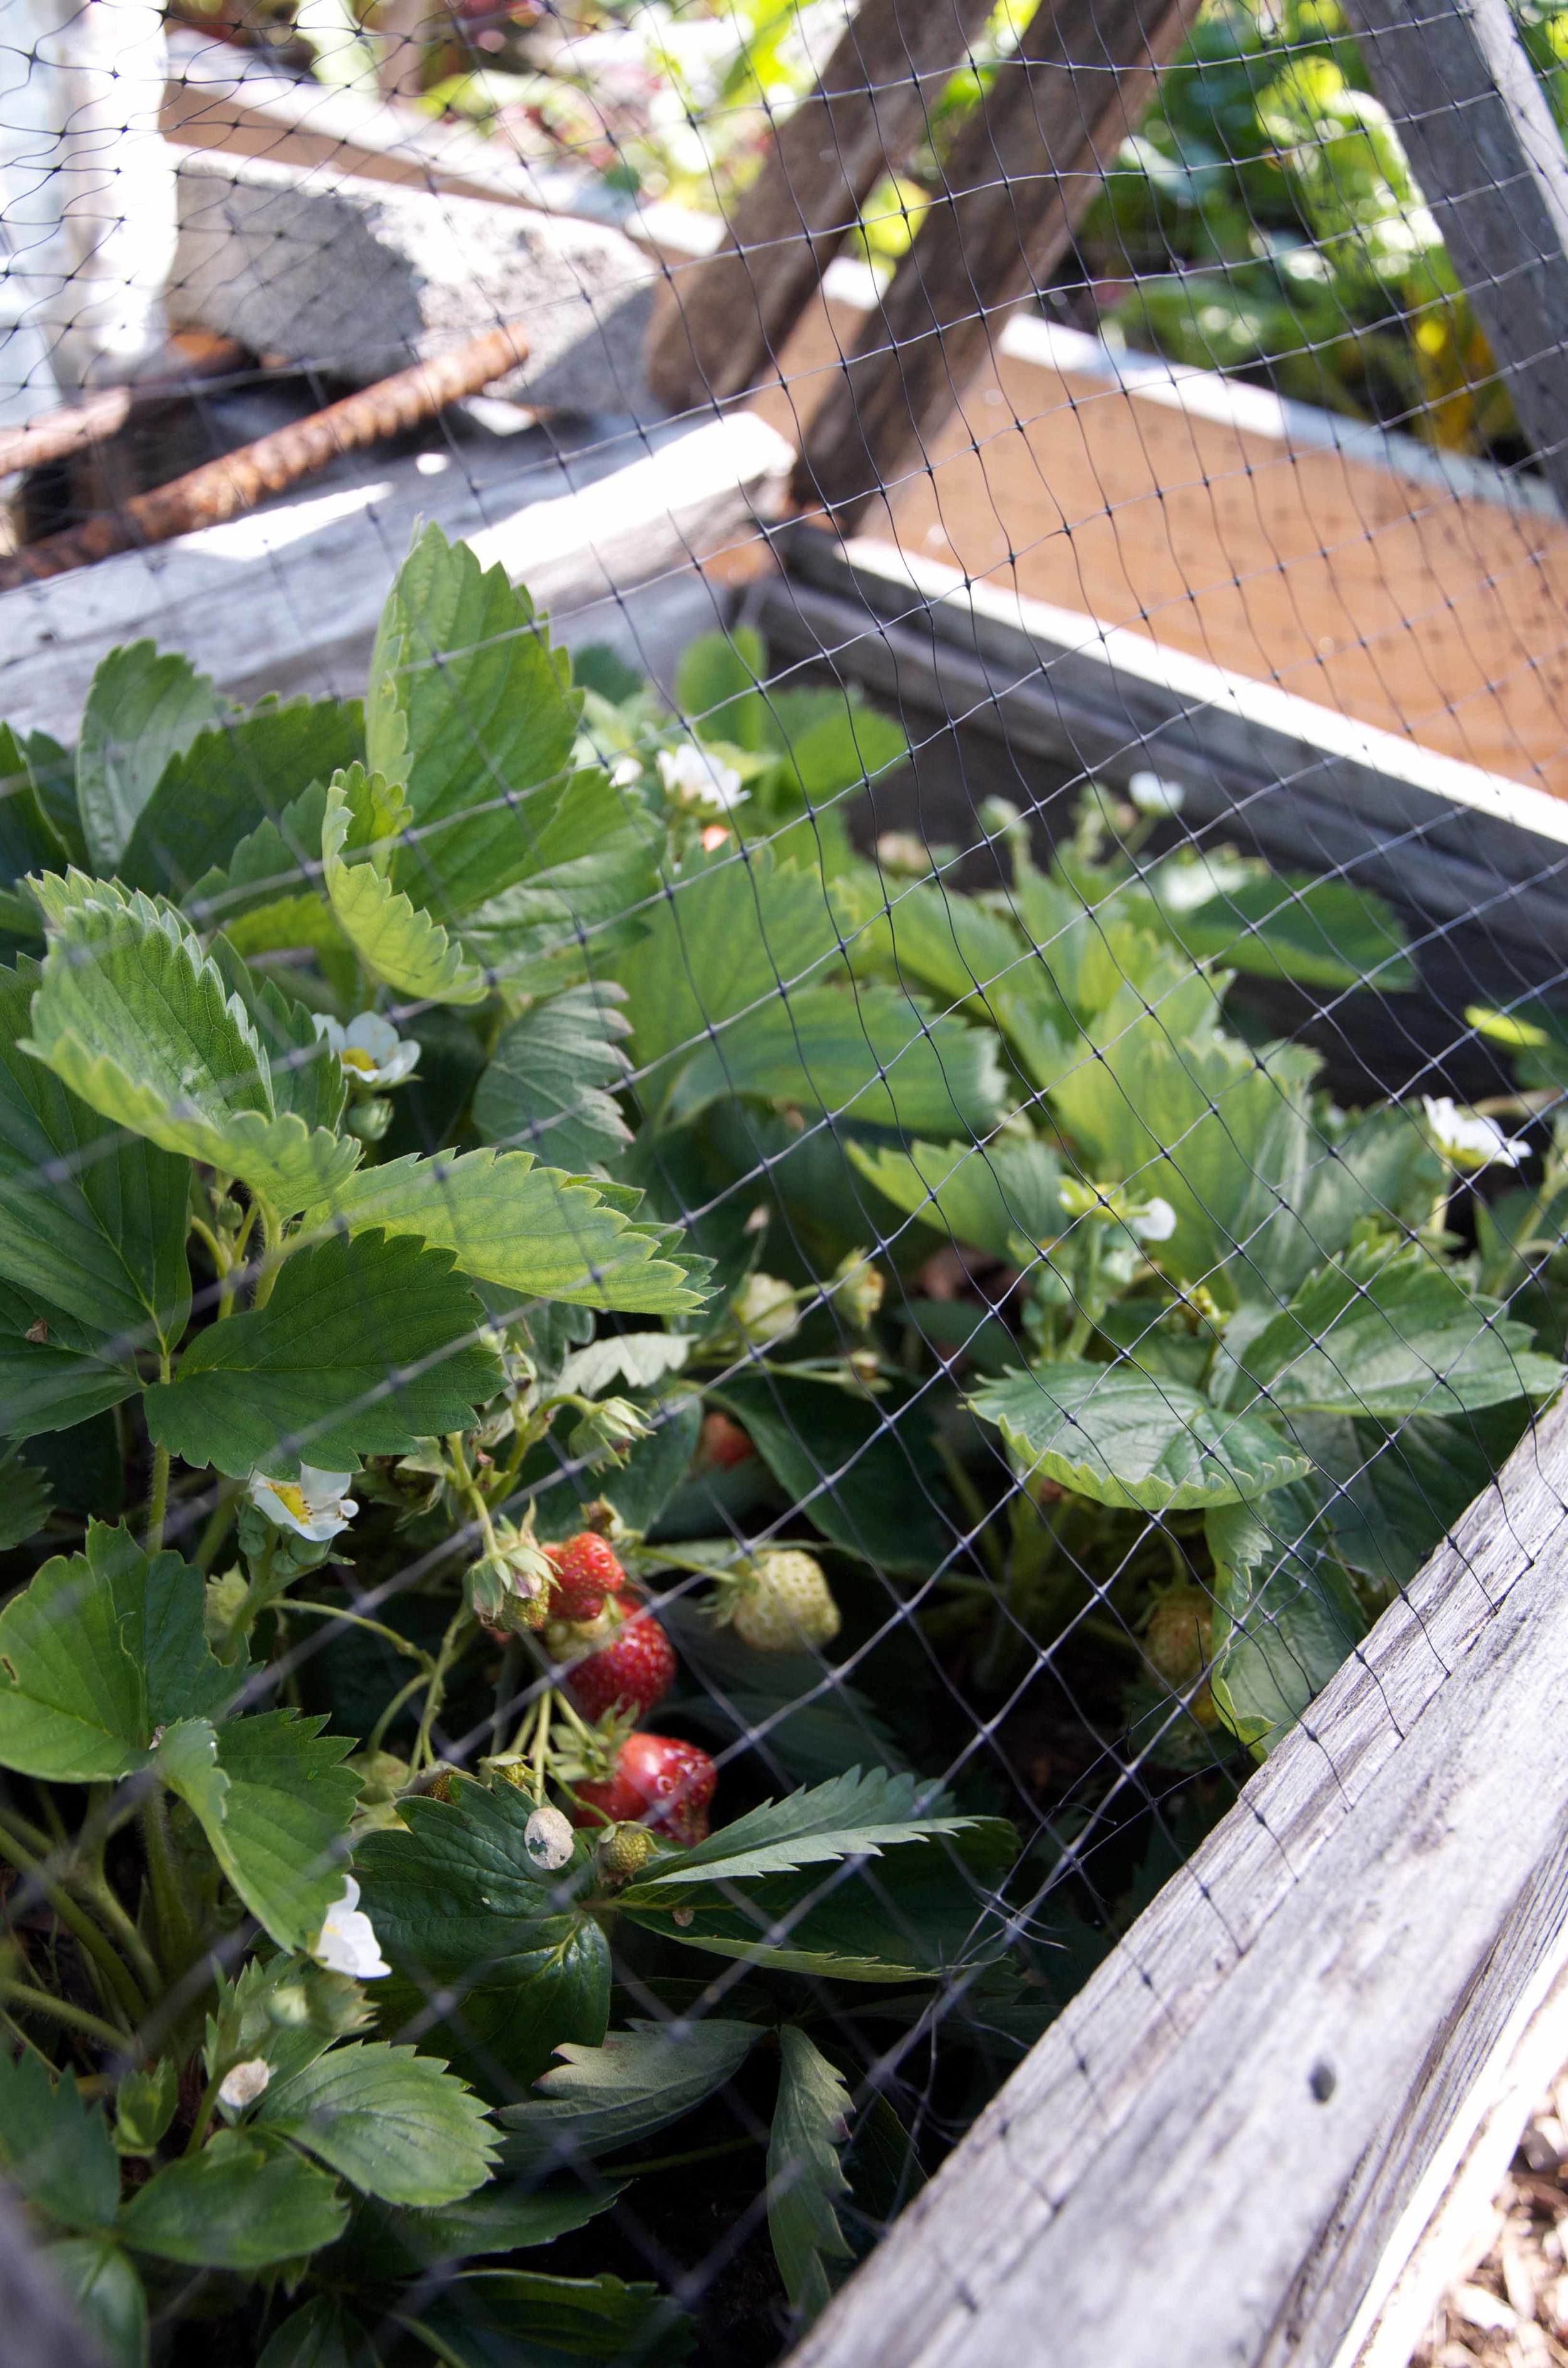
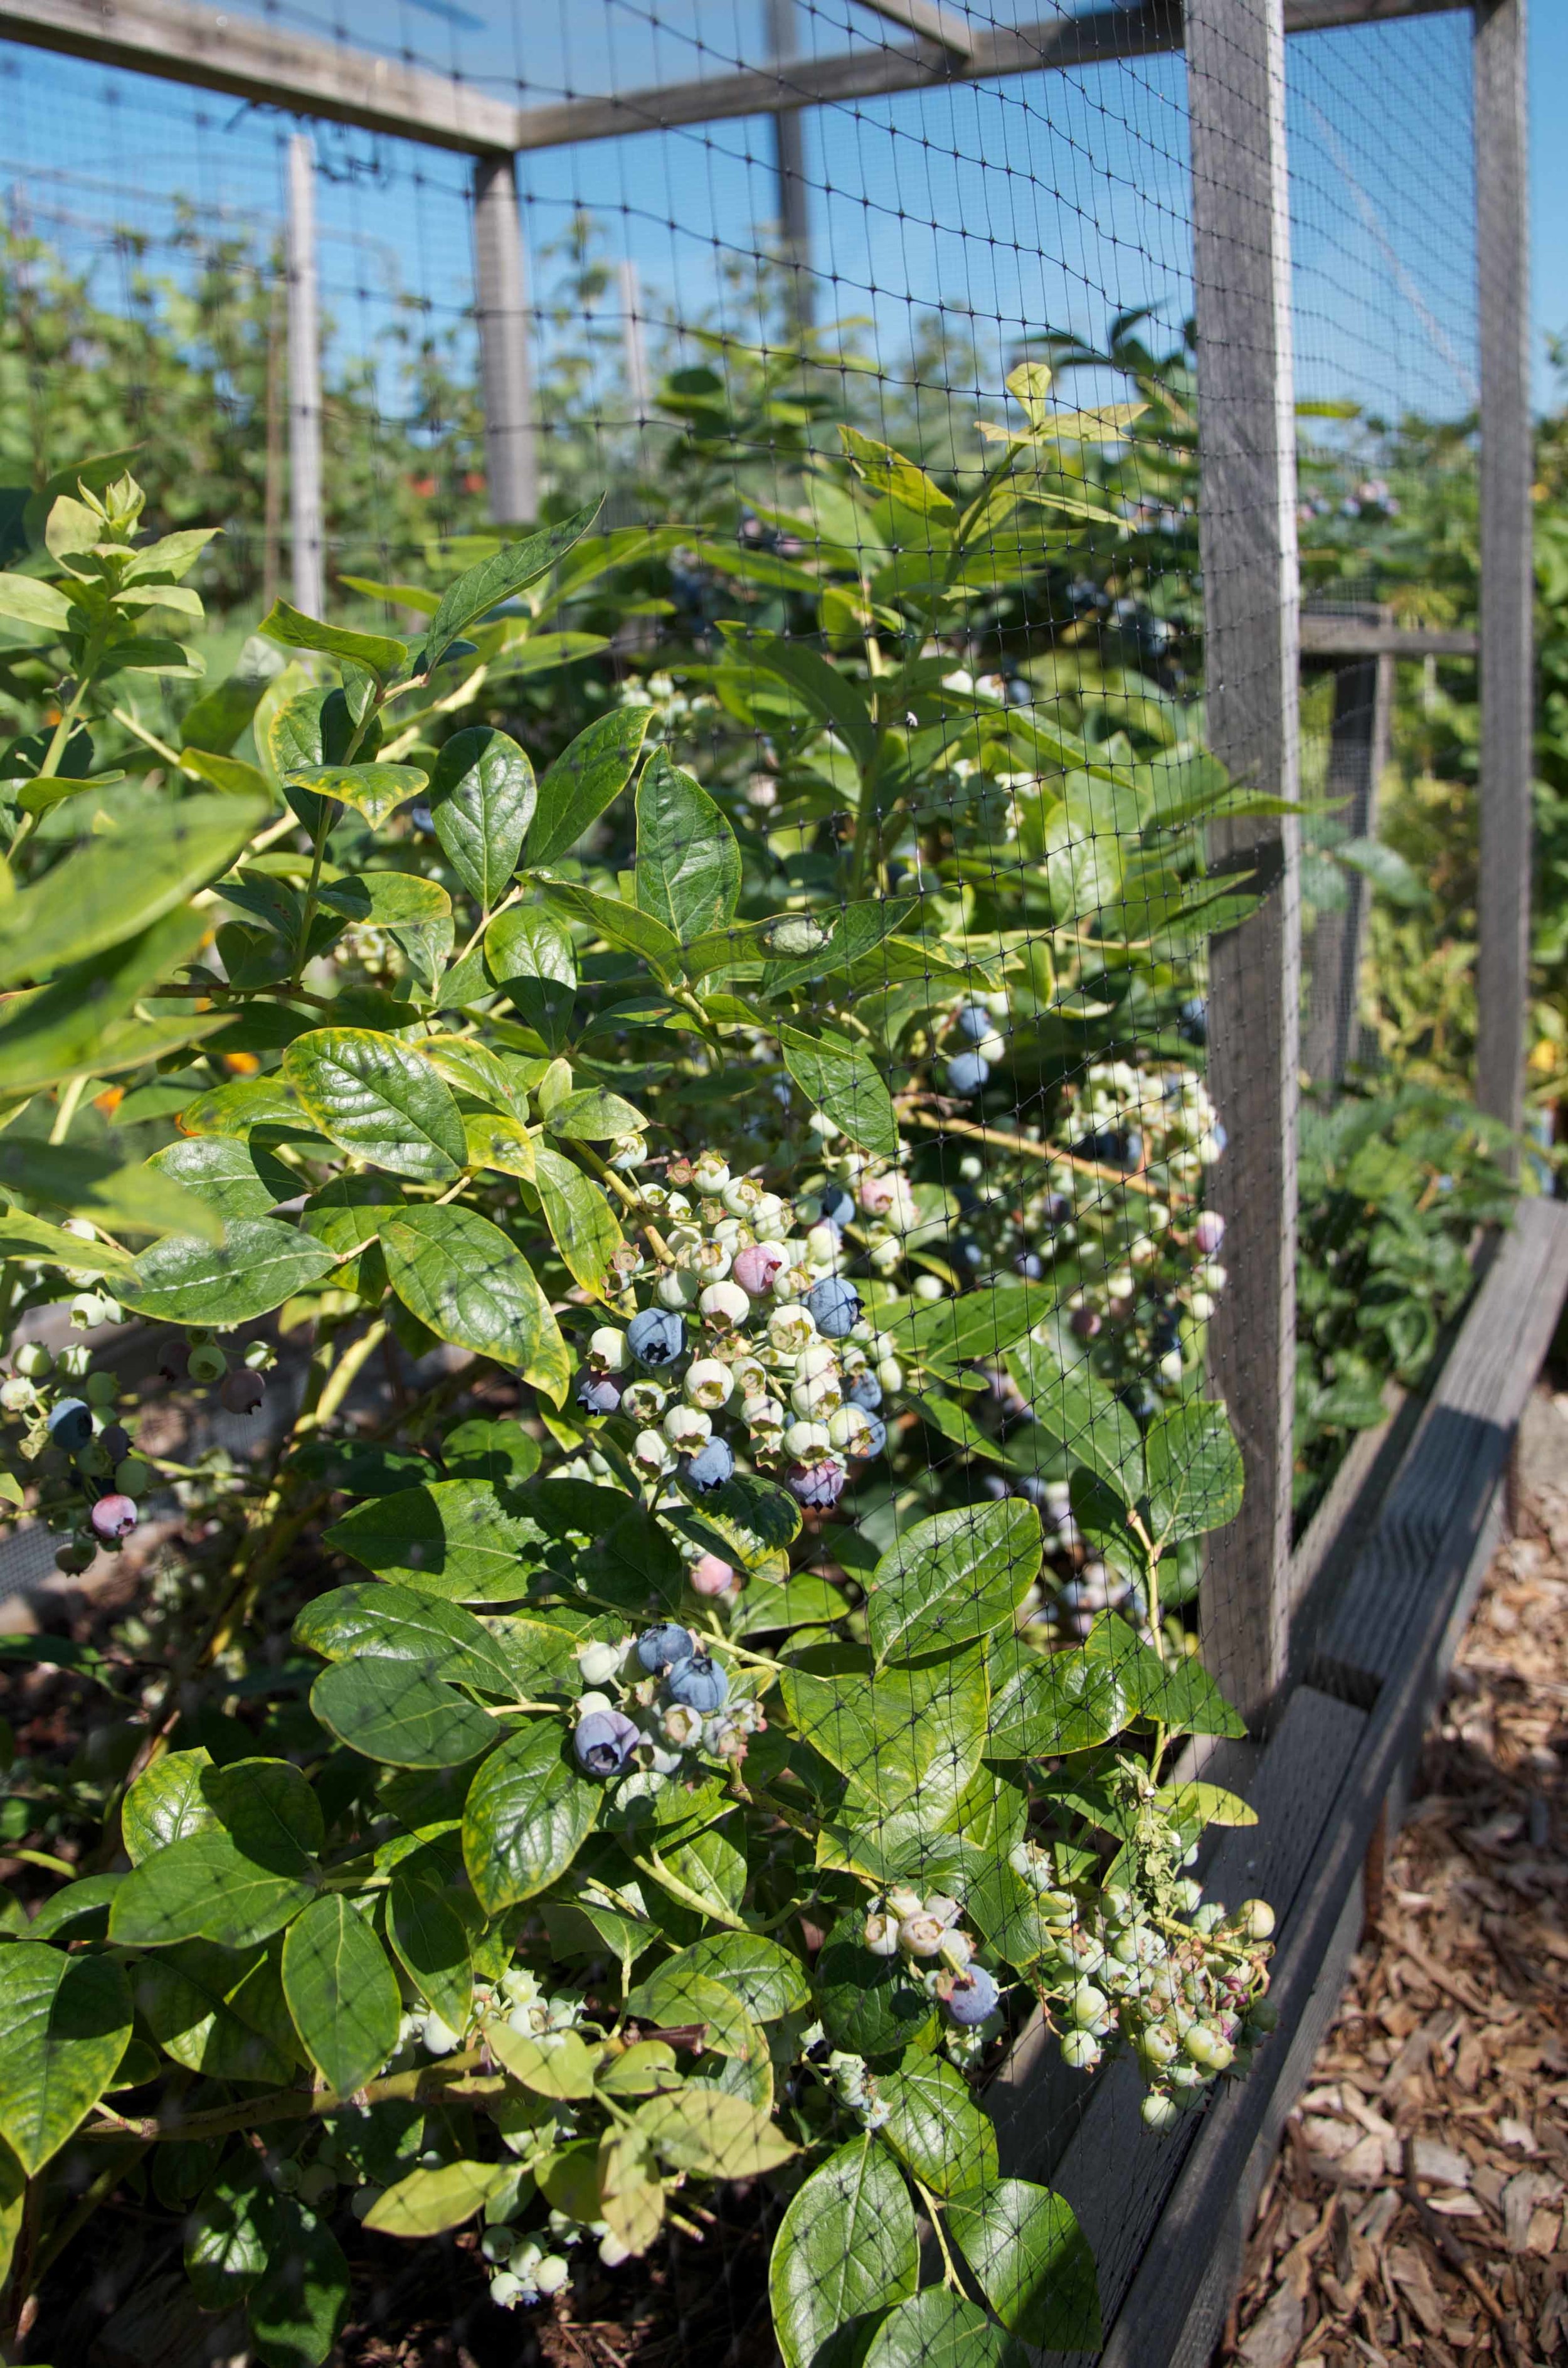
2. Birds: Fortunately, not everybody has problems with birds in their gardens. Unfortunately, birds can do a lot of damage when they want to. Generally speaking, birds are attracted to sweet crops. You usually won’t have an issue with your broccoli or summer squash. More likely, you will see birds go after your corn and strawberries.
Lets face it, nobody likes the way bird netting looks…but nobody likes the way they look with braces on their teeth either. By far the most effective way to protect your crops from marauding birds is to net the crops. The good news is that you really only need to cover the plants during the short period of time when the fruit is ripening. You will need to keep an eye on your vulnerable crops and make sure to cover them just before they start to reach maturity. Getting to know the seasonality of each crop will give you an idea what time of year to expect your harvest and make sure you don’t miss the start of the ripening period. Although ripening times change each year based on the weather, they are usually consistent within a few week period.
Crops that will benefit from netting:
Blueberries
Cherries
Corn
Figs
Peas (especially newly planted pea seeds)
Plums
Raspberries
Strawberries
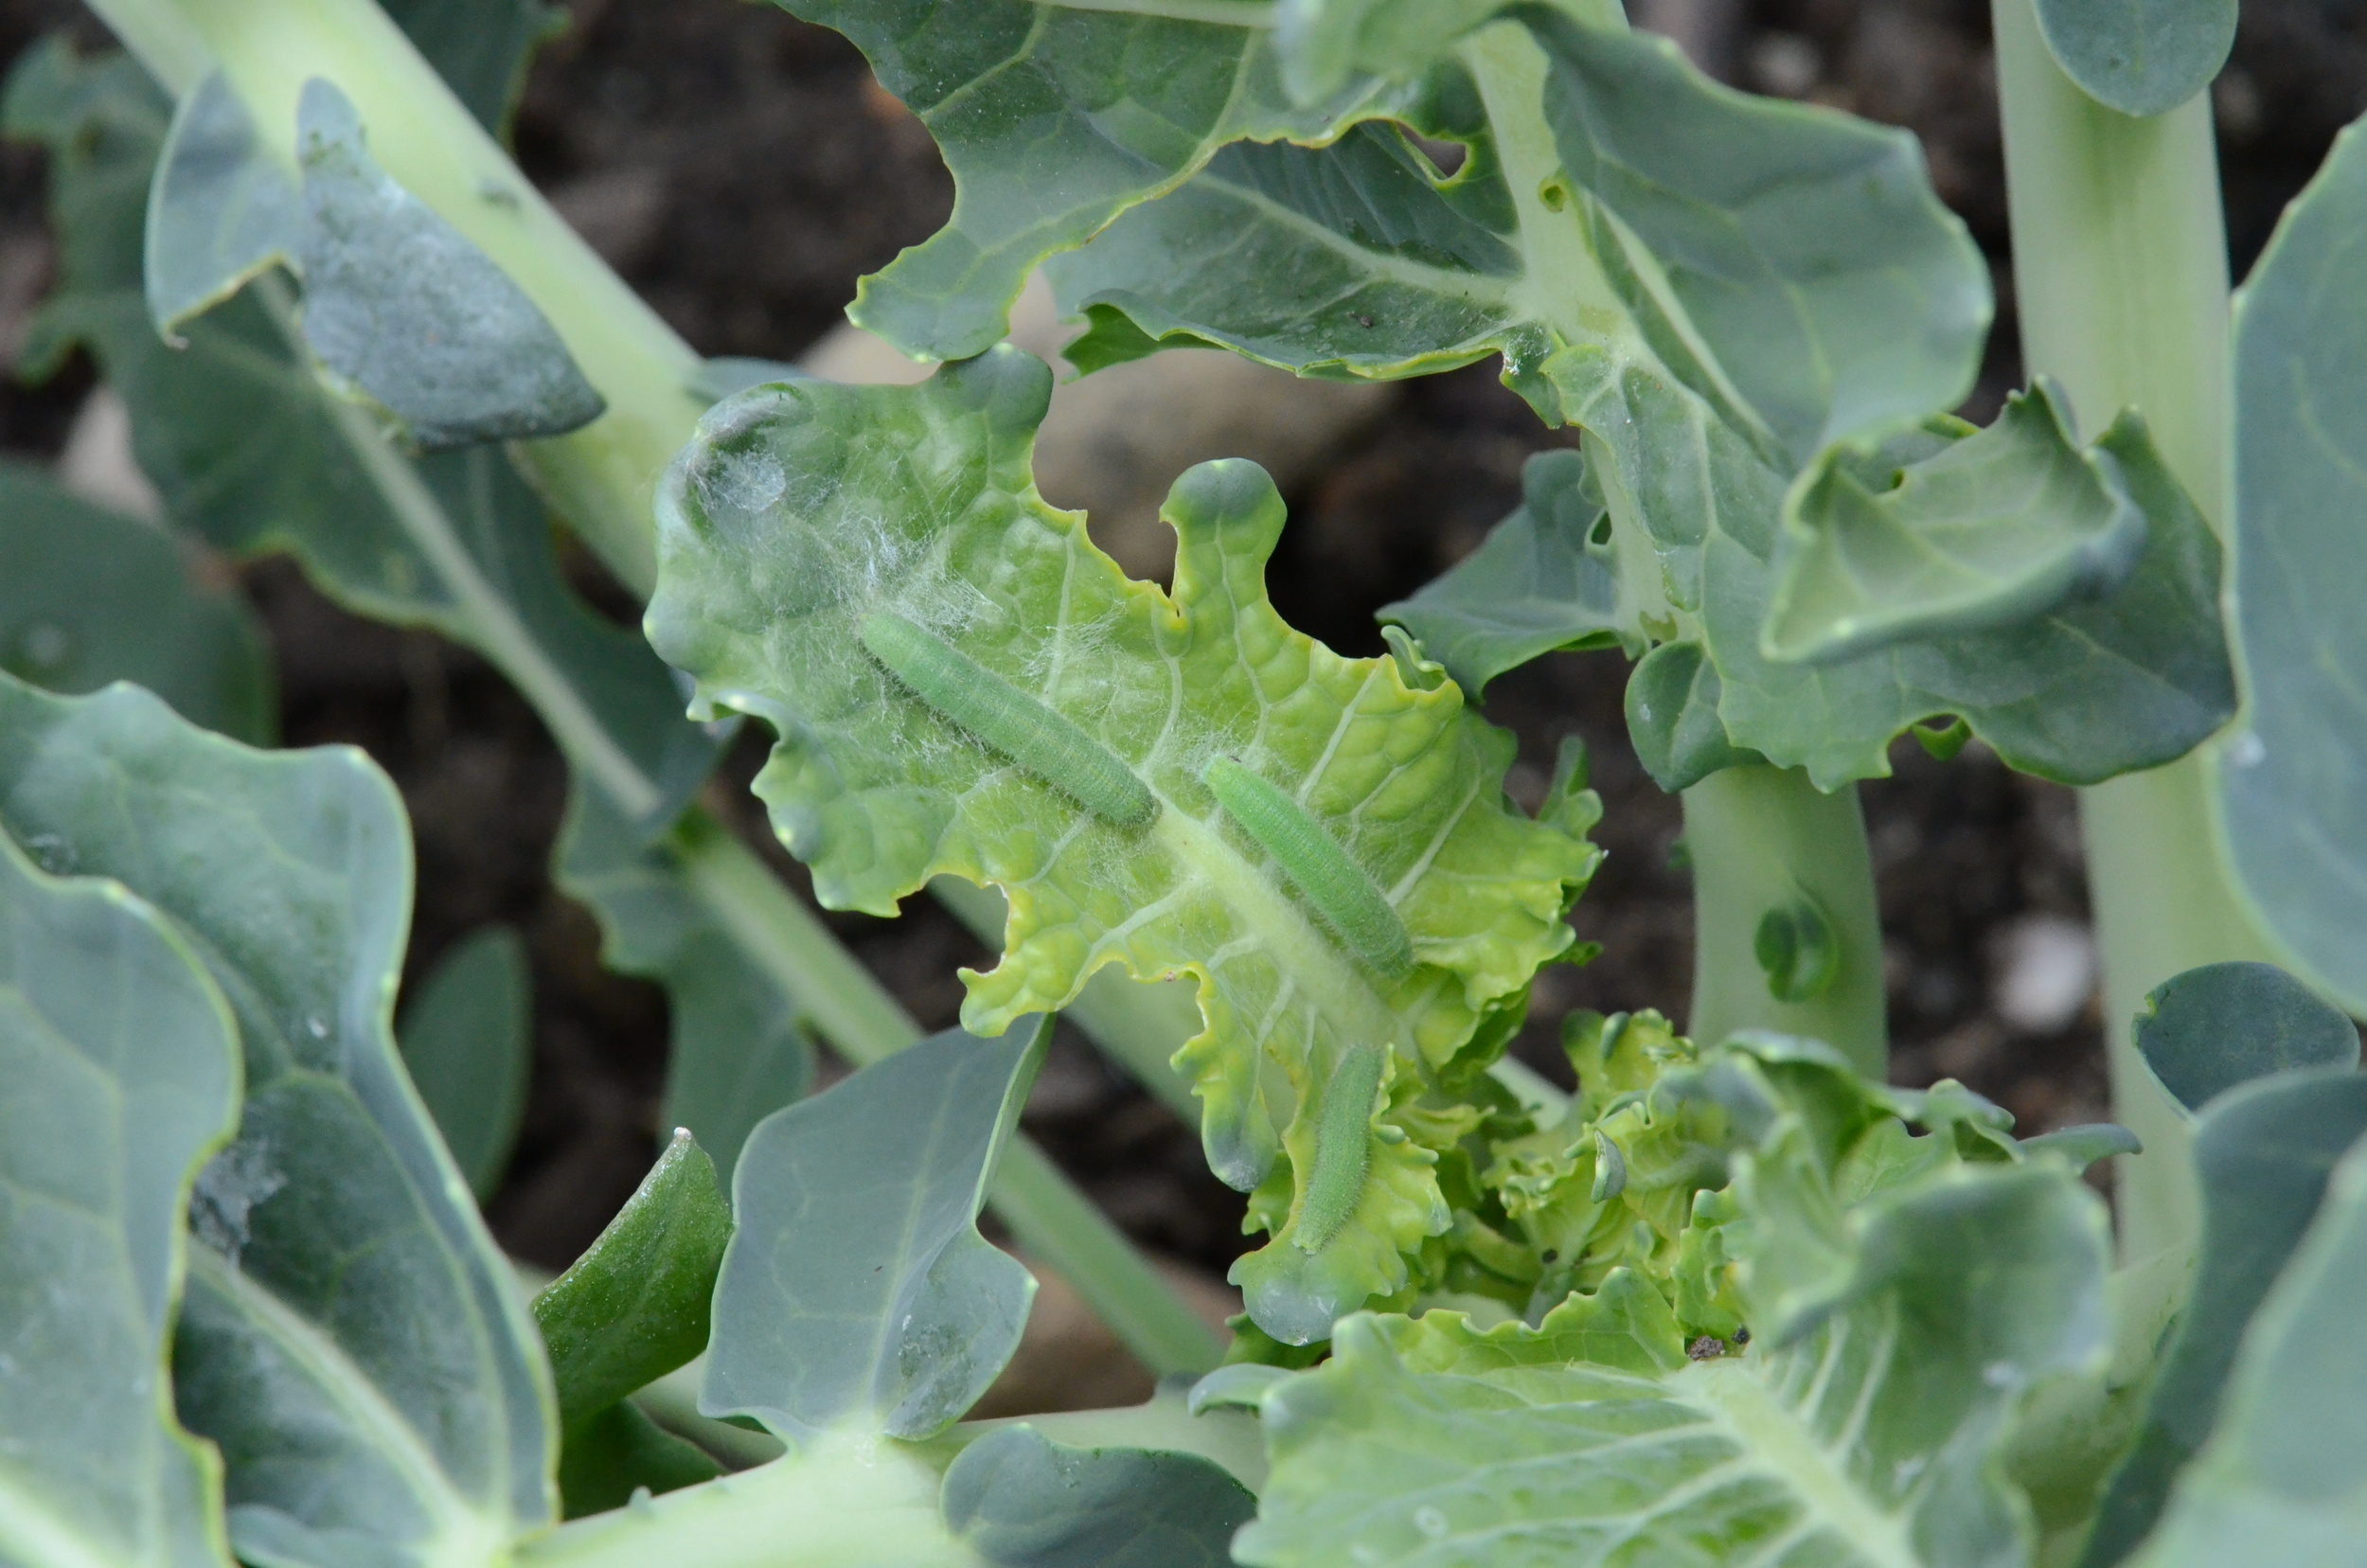

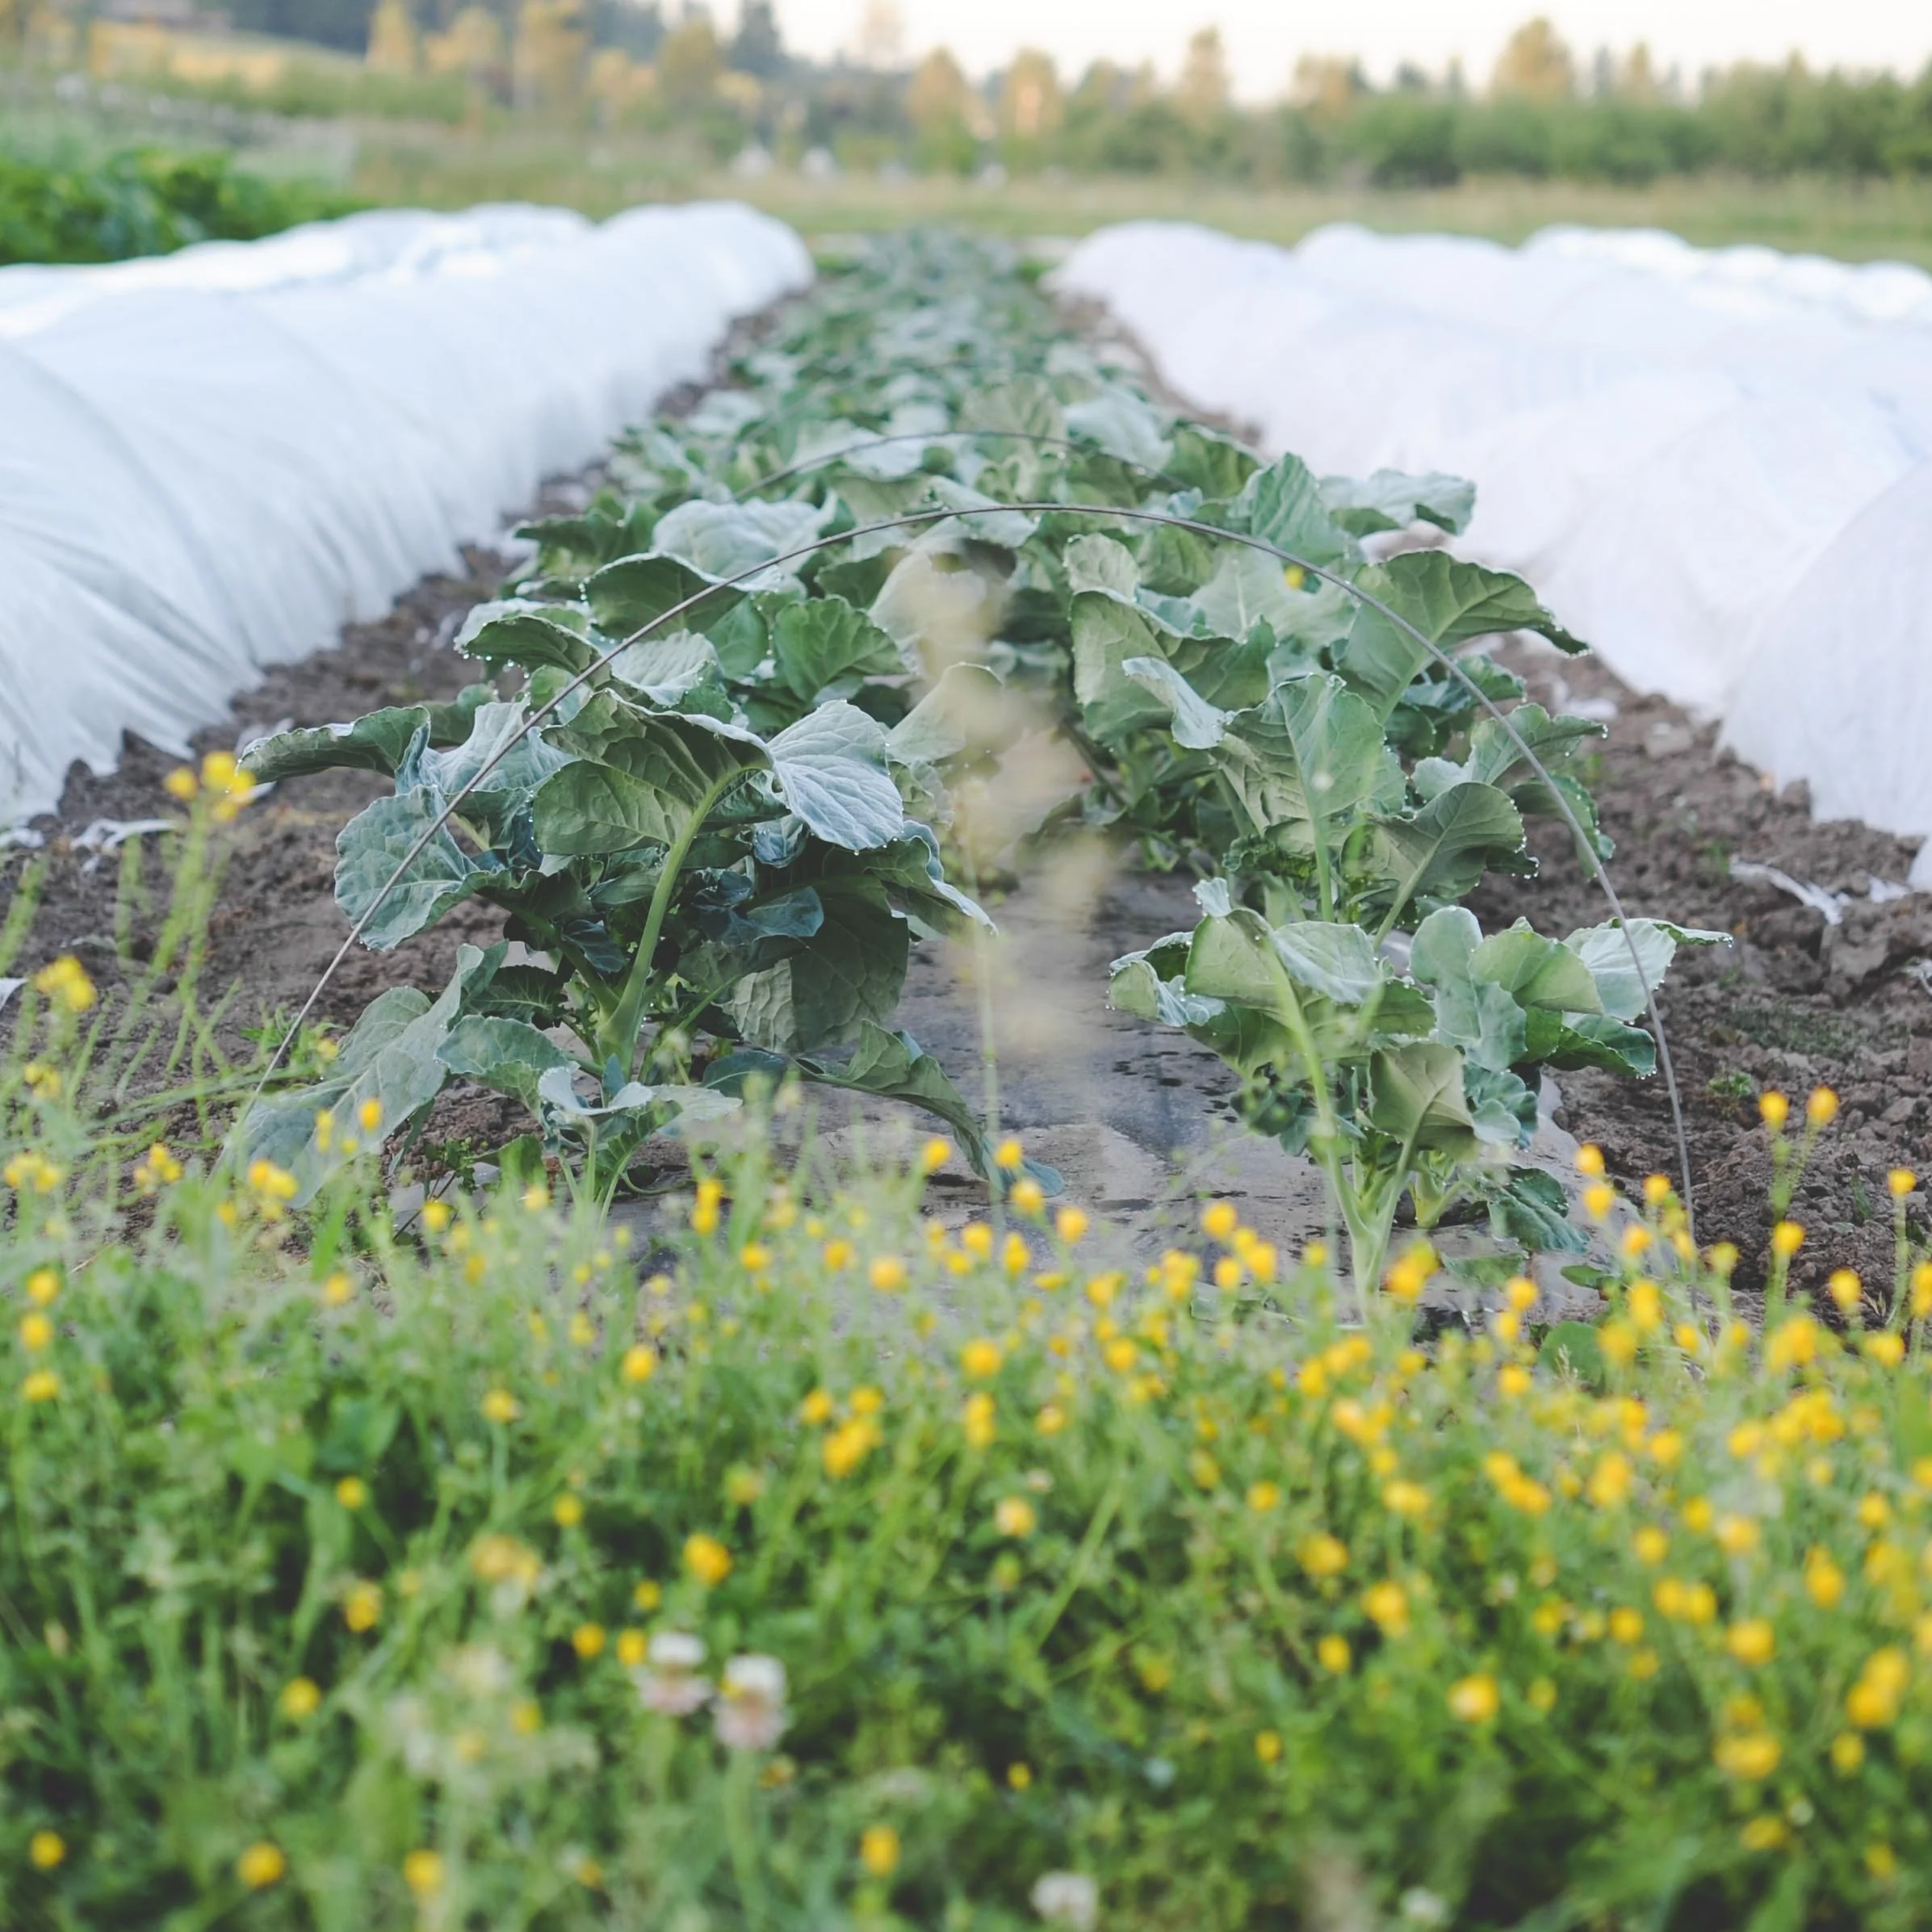
3. Cabbage Loopers/Imported Cabbageworms: In my opinion, one of the most annoying insect pests in the universe. Cabbage loopers and imported cabbageworms are small, bright green caterpillars that are attracted to pretty much any plant in the Brassica family. The caterpillars are the immature form of the white moths that you see fluttering around the garden each summer. They are most interested in broccoli, Brussels sprouts, cabbage and cauliflower and less interested in kale, mustard greens and turnips. There are a few organic curative sprays (like Spinosad and Bt) that help mitigate caterpillar damage, but far better is to try and prevent large populations from becoming established. If you don’t mind keeping your beds covered all season long, a floating row cover over the crops will prevent the moths from landing on your plants and laying eggs. Otherwise, like aphids, you can attract predatory insects to your yard and let them help manage the caterpillars for you. The primary predators are trichogramma wasps, a parasitic mini-wasp, and tachinid flies.
Flowers to attract caterpillar predators:
Alyssum
Cosmos
Parsley

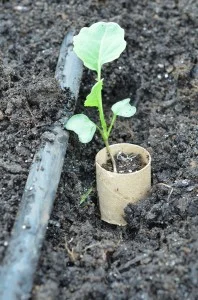
3. Cutworms: These are a true garden nemesis. Cutworms are soil dwelling caterpillars that chew through your plant stems and/or roots. Cutworms are most troubling to young transplants, killing them outright. They can mow down entire rows of crops overnight. We have the most trouble with cutworms early in the year when they like to go after members of the Brassica family (Broccoli, Brussels sprouts, Cabbage, etc). Fortunately, there are some simple ways to fight back. First, when you are preparing your soil in the spring, remove and kill any cutworms that you might dig up. Once you start looking for them, you may be surprised how many there are. More importantly, we plant our spring Brassicas in “cutworm collars”. A collar is a physical barrier that is set into the soil around your plant to prevent the cutworm from reaching the plant stem.
You can use just about anything to build a collar:
A plastic plant pot with the bottom cut off
Aluminum foil
Toilet paper rolls (our favorite, since they decompose in the soil as the plant grows)
6. Root Maggots: These can be even more frustrating than cutworms, and harder to control. Like other maggots, these are simply the larval stage of certain species of flies. These flies cruise around in your garden and lay eggs at the base of your plants. When the eggs hatch, the maggots burrow into the soil and consume the roots of your plants. What fun! Like cutworms, root maggots can destroy otherwise young, vigorous plants. Maggots also feed on larger, mature plants, but well-established plants can usually survive a little root pruning. Younger plants may end up losing their entire root systems. The goal is to discourage root maggots from landing next to your plants by creating an environment that is less desirable for egg laying or prevents the maggots from burrowing into the soil. We have tried applying all manner of materials for these root maggot barriers.
The most effective solution is to build a hard physical barrier, such as covering the soil in black plastic mulch, or covering the entire bed in floating row cover. For many backyard growers, this isn’t always the most appealing look (and you end up creating a lot of garbage at the end of the season when you use plastic mulch). We usually opt for organic based mulches, even though they are not quite as effective, since they will decompose and they keep the garden looking a little nicer. After planting the young plant, we put down a ring of mulch in a 3” radius around the base of the plant. Sometimes we lose a few plants during the spring, but if we are diligent about checking in on the garden, we can replace these plants quickly and still get a great harvest.
Root Maggot Deterrents:
Sawdust Ring
Bark Mulch Ring
Cardboard Ring or Square
Diatomaceous Earth

7. Slugs: What are we going to do about slugs? To a certain extent, we are going to put up with them…but, there are also a few other helpful things we can do. Slugs are most active in the spring while temperatures are cooler and the soil and plants remain wet. Their activity level and ability to damage your crops (a few bites from a slug is way more damaging to a young plant than to a mature one) decreases considerably during the summer.
While I do think that the traditional beer trap does work, they seem to get diluted and fill up with rainwater (imagine that!), so we have been trying to figure out other “best practices”.
During the summer is important to water the garden in the morning so that the soil surface can dry out a little bit before nighttime when slugs are most active.
If you have chickens and can manage them easily, letting them free-range or using a chicken tractor, putting them in the garden during the off-season certainly helps reduce all sorts of pest populations.
If you can remember to check on it once or twice a week, setting a wooden board in one of your garden pathways, will create a slug haven. After being out all night, they will head under it in the morning and you can pick it up during the day and collect all them for disposal.
Iron phosphate based slug baits are organically approved and can be very helpful. Apply around young crops in the spring and fall. The pellets will dissolve in the rain, so re-apply as needed. If you are shopping for slug baits, make sure to read the label, it should say that it is safe around children and pets and is made only from Iron Phosphate and inert filler material.

8. Voles: Even though they are both burrowing mammals, there is a big difference between voles and moles. Voles are tiny, mouse-sized animals that love to feed directly on your plants (in and out of the vegetable garden). Moles are much larger and only damage the garden aesthetically (by making those large mounds of soil) or arbitrarily (by making a mound in the middle of your vegetable bed). If you know or suspect that you may have voles in your yard, consider setting up wood-framed raised beds in your garden. Raised beds have a lot of benefits (increased soil depth, better drainage, etc), and they also make it easy to create vole free spaces. Before filling up new garden beds with soil, simply staple a sheet of ¼” or ½” hardware cloth to the bottom of the bed (hardware cloth is like chicken wire, but more rigid and with smaller holes, and you can get it at any hardware store).
If you aren’t using wood-framed beds or if your beds are already built, the best solution is to set up vole traps in and around the garden. Voles will be easily killed in a standard mousetrap (baited or un-baited), but it is important to place the trap inside a box. You can use a small wooden, plastic or cardboard box. Simply cut a small, mouse-sized hole in two opposing sides of the box and put the trap inside. The box prevents other people or animals from accidentally setting off the trap and it is an attraction to the voles. Since the voles like dark enclosed spaces, they are prone to entering the boxes, thinking it will provide shelter and protection. Check on the boxes regularly, empty traps as needed and reset.
I hopeyou take the challenge to implement some or all of these practices in your garden this spring, and let us know how they work out as the season progresses. Keep checking in to sustainable eats as the season goes on. At the end of the month there will be a round up post where you can leave a comment or link up a blog post about what you have done for a chance to win some great prizes.